Enchiladas are one of my favorite foods, but they are a bit filling and heavy for summer fare. I had a few zucchini to use up, and decided to try adding one to enchiladas. Worked great, added some low-calorie nutrition & a little extra texture without detracting from the yummy flavor. These were a hit, and we all liked them so much, I know I will never make my Mom’s Beef and Cheese Enchiladas without zucchini added in again. And pssst: you can totally “bake” these in the microwave – doesn’t take long, just until the cheese is melted.
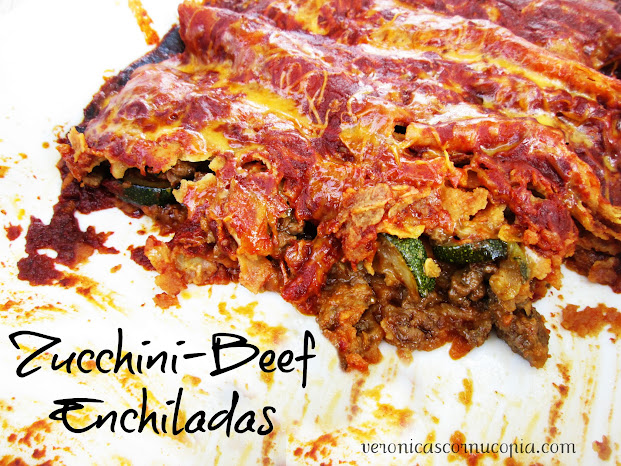
Zucchini-Beef Enchiladas
Printable recipe
Printable recipe with picture
1 tablespoon olive oil
1 medium zucchini, quartered & chopped
1 lb lean ground beef
2 1/2 tablespoons homemade taco seasoning (or 1 packet store-bought)
2 tablespoons water
15 corn tortillas
1 (8 oz) package cheddar cheese, finely shredded
1 (19 oz) can red enchilada sauce
Preheat oven to 350F. Spray a 9×13 dish with cooking spray and set aside.
Heat skillet over medium-high heat and add olive oil, swirling to coat bottom of pan. Add the zucchini and cook about ten minutes, stirring often, or until soft. Remove to a plate, then add the ground beef and cook until browned. Drain and add taco seasoning, water, and the cooked zucchini. Stir well and cook a few minutes longer. Remove from heat.
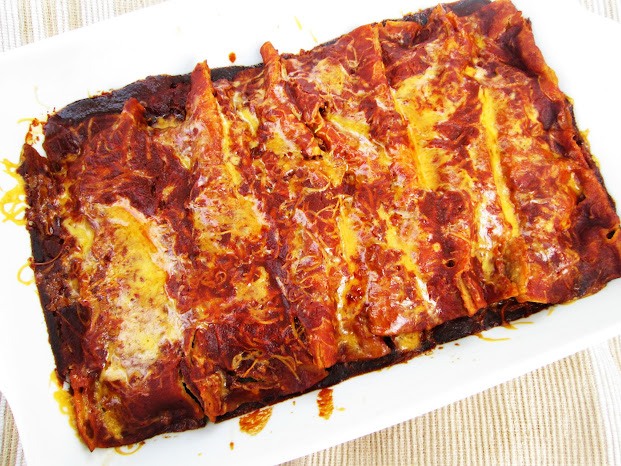
Wrap four tortillas in a damp paper towel and microwave for 30 seconds. Set aside a cup of the cheese to use for the top. Take tortillas one at a time, keeping the others wrapped, and put a little cheese in a line down the middle, then some of the beef mixture, about 2-3 tablespoons. Roll up tight and place in prepared dish. Repeat, warming additional tortillas as necessary, until all the filling is used. Pour enchilada sauce over the top, then sprinkle the remaining cheese over. Cover with foil and bake about 30 minutes, or until cheese is melted.
Veronica’s note: I know it’s so much easier to buy pre-shredded cheese, but you just will never get the same glorious melt that you get with cheese you’ve shredded yourself. It’s worth the few minutes and extra clean up. Also, if you’d like to “bake” these in the microwave, it’s best to divide the recipe between two smaller microwave-safe dishes. Keep an eye on it and just let it go until the cheese is melted – should take five minutes or less. I prefer to do a few at a time on a plate.
 |veronicascornucopia.com")
 |veronicascornucopia.com")


 e
e


