This month I was assigned to Cookin’ With Moxie for the Secret Recipe Club. Jamie is a beautiful Italian girl who loves to cook, and I was tempted by many of her Italian dishes, but circumstances led me to these wonderful cupcakes instead. I had volunteered to provide the cake for my sister’s boyfriend’s belated birthday gathering in the park, and had already decided to bring cupcakes since they don’t require forks. And since Jimmy’s favorite pie is apple, I just had to make these. Aren’t they so cool?

Vanilla cupcakes filled with homemade apple pie filling, topped with vanilla buttercream that mimics the ice cream you’d use on real apple pie. Totally delicious. And I have to tell you, I actually ran out of filling (more on that in a minute) and used some canned filling for about 4 cupcakes and I was nervous that people would like those better than the homemade ones. I didn’t get to taste the ones with canned filling, but another lady tried both and said the homemade version was SO much better. So there you have it. If you want to cheat, do it with the cake (using a vanilla or yellow mix) but please do make your own filling and buttercream.

OK, about running out of filling. This cupcake recipe makes 32 cupcakes if you fill the liners the appropriate amount–1/2-2/3 full. I don’t know if others have overfilled their cupcakes (don’t do it, they will spread out on the sides and it will not be pretty), didn’t cut their cones as deep, or just made more filling to fill the extra cupcakes, but there was not enough filling for all 32 cupcakes for me. So I have adapted the recipe to make more filling. If you use a mix, which makes 24 cupcakes, refer to Jamie’s original recipe for the filling as that will be the perfect amount.

Another strange discovery I had is that the batter that was left out waiting for a pan to be freed up (I didn’t have a third pan for the extra eight cupcakes) actually baked up better than the ones I put in right away. So weird, right? They didn’t brown as much and domed more in the middle instead of spreading out on the sides. They had a much better appearance. You can do whatever you wish with that information, as the taste will be the same whether it sits or is baked right away. Just know that if you have to let some of the batter sit and wait for a pan to be freed from the oven, the cupcakes will not suffer.

I want to thank my Group C hostess, Debbi, for all she does, and April who runs the entire club. They both keep things running so smoothly it’s easy to overlook all their hard work. And of course Jamie for sharing this fabulous recipe, which I otherwise never would have made. You ladies rock! And if you’d like to find out more about The Secret Recipe Club, click the link and join sooner rather than later to get a better place on the waiting list. It’s a popular club and it can take a long time to get in!

Apple Pie Cupcakes
Printable recipe
Printable recipe with picture
Cupcakes
3 cups (12 ¾ oz) all-purpose flour
1 tablespoon baking powder
½ teaspoon salt
1 cup (2 sticks) unsalted butter, room temperature
2 cups (14 oz) granulated sugar
4 eggs, room temperature
2 teaspoons pure vanilla extract
1 cup whole milk, room temperature
Apple Filling
2 ½ tablespoons unsalted butter
2 1/2 teaspoons cinnamon
1/3 cup granulated sugar
4 large apples, peeled, cored & diced small (I used Gala & Jonagold)
Vanilla Buttercream
1 ¼ cups (2 ½ sticks) unsalted butter, softened
2 ½ cups confectioners’ sugar, sifted
1/8 teaspoon salt
2 teaspoons vanilla extract
2 tablespoons heavy cream
Preheat oven to 350F. Line 24 cupcake tins with paper liners; set aside. Sift together the flour, baking powder, and salt. In the bowl of an electric mixer, cream the butter and sugar together on medium-high speed until light and fluffy, about 2 minutes. Beat in the eggs one at a time, mixing well and scraping down the sides of the bowl after each addition. Add the vanilla extract and mix well to combine. Add in the dry ingredients alternately with the milk, beginning and ending with the dry ingredients. Stir until just combined.
Fill the cupcake liners ½-2/3 full. You should have several cups of extra batter–set it aside. Bake until golden and a toothpick inserted in the center comes out clean, about 18 to 22 minutes. Remove from the oven and allow to cool for 5 minutes in the pans. Transfer to wire racks to cool completely before assembling. Fill eight cupcake tins with liners and fill with the remaining batter and bake and cool as before.
For the filling, heat butter in a medium skillet over medium-high heat. Add the cinnamon and sugar and cook for a minute, until the mixture begins to bubble. Lower the heat to medium and stir in the apples. Mix well. Cook until the apples are somewhat tender, about 10 minutes. Remove from heat and let cool.
While the apple mixture is cooling, use the cone method to remove a chunk from the center of each cupcake, making sure to leave a rim around the top of the cupcake. Fill the holes with the cooled apple mixture.
For the frosting, beat the butter at medium-high speed until smooth, about 20 seconds. Add confectioners’ sugar and salt; beat at medium-low speed until most of the sugar is moistened, about 45 seconds. Scrape down the bowl and beat at medium speed until mixture is fully combined. Scrape bowl, add vanilla and heavy cream, and beat at medium speed until incorporated, about 10 seconds. Then increase the speed to medium-high and beat until light and fluffy, about 4 minutes, scraping down bowl once or twice.
To decorate, top each cupcake with a swirl of vanilla buttercream; careful not to hide the lovely apples.
Recipe source: adapted from Annie’s Eats, as seen on Cooking with Moxie
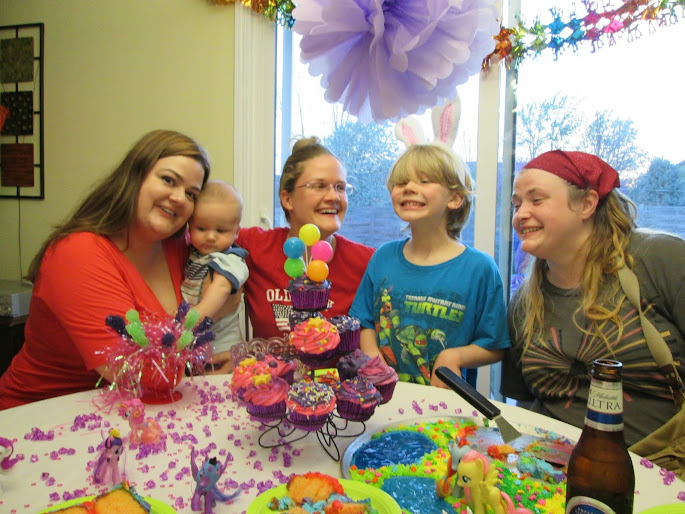
Couldn’t resist sharing this photo of my sister eating a cupcake…

To check out all the other great Group C SRC recipes this month, click the linky man below!

Apple Pie Cupcakes


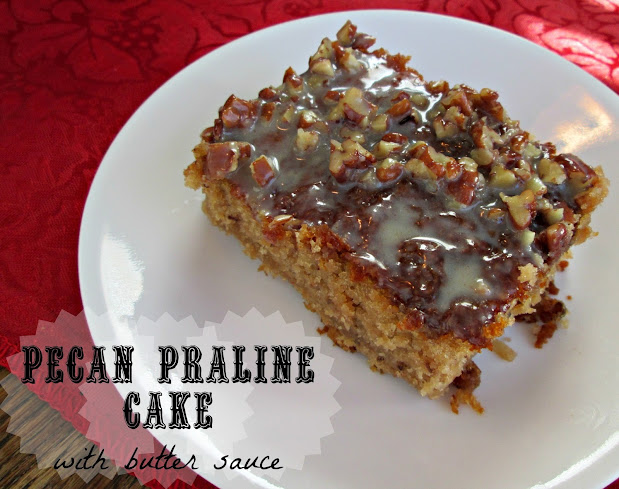
 Chocolate Italian Love Cake