RSS Feed

Tag Archives: birthday party

Jessie’s 10th Bruffday Paw-ty

Posted on

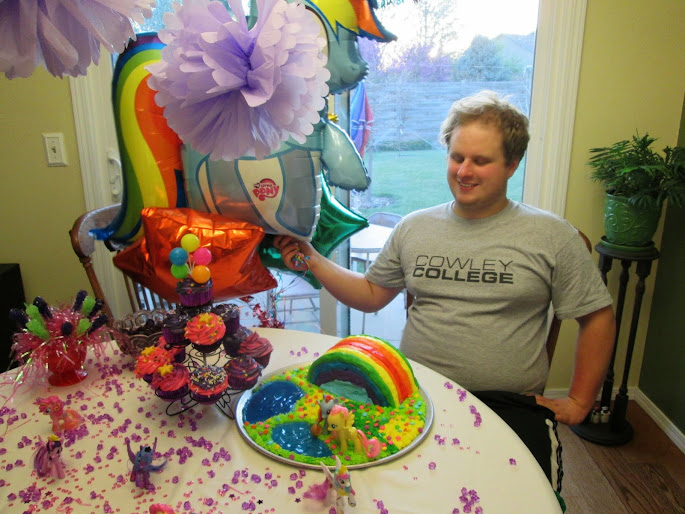
I’ve always wanted to throw a birthday party for Jessie and somehow never found the energy while she was our only child, but managed to pull it off when another little someone was commanding most of my time and attention.  I felt like she really deserved it this year since she had to start playing second fiddle to the human puppy after so many years of being #1.

I created the invitations on PicMonkey (I’ve been using the free version for about a year now, although it’s only $5 a month if you want to use the premium features), and had them developed as pictures at Walmart in an hour for 16 cents each.  I bought a box of envelopes on sale that fit 4×6 pictures and use them every time I create invitations or cards on PicMonkey, so if you calculate the total cost it’s still less than a quarter each – much less than you’d usually pay for custom invitations and cards! I’ve become very crafty with my frugality since becoming a SAHM. It’s amazing what you can do when you put your mind to it – necessity has bred a lot more creativity in me than I previously thought possible.

I wanted to spend the least amount of money possible while still having a nice party, so we served hot dogs, which I thought very appropriate for a dog party.

I had a lot of fun with the food table and coming up with dog-related names/signs for everything.  I bought the majority of my supplies at Dollar Tree where, you guessed it, everything is $1.  I got this wire basket there, and wrapped $1 napkins from Walmart around the $1 plasticware from Dollar Tree and then made napkin rings out of  strips of brown paper sacks that I also got from Dollar Tree.  I used the paper from the sacks to make my signs, and also as party favor bags, so I got a lot of use out of them and still have quite a few left for future use.

I found these large plastic dog food bowls at Dollar Tree, and they were the perfect size to serve food out of.  Paw-tato Chips, Puppy Chow, and Kibble & Bits.  For the latter, I mixed cheese balls with Cheddar Chex Mix that I purchased.

I got most of my ideas on Pinterest (click here to see my Doggy Stuffs board that has lots of party ideas and more), but the Paw-sta Salad was totally my idea. :)  I used the Tangy Pasta Salad recipe I posted Monday, using paw and bone-shaped pasta that I got from my SIL as a gift a few years ago (I also threw in a can of sliced black olives, just for fun).  I was so happy to finally put it to good use!  It was a hit both for the cuteness factor and taste – I got more compliments on it than anything else.

Tee hee. :)

I really had fun making dog-friendly cupcakes, or PupCakes, if you will.  These are totally my own recipe and turned out so great – Meatloaf PupCakes with Mashed Potato Frosting and bacon “sprinkles.”  Huge hit with the pups!

The humans enjoyed Cookies ‘n Cream Cupcakes after the doggies had their “cake.”  I made the paw prints using mini Oreos and chocolate chips.  If you’ve never made this cake, you need to.  I’m not an Oreo fan and even I love it.  Seriously good cake, peeps.

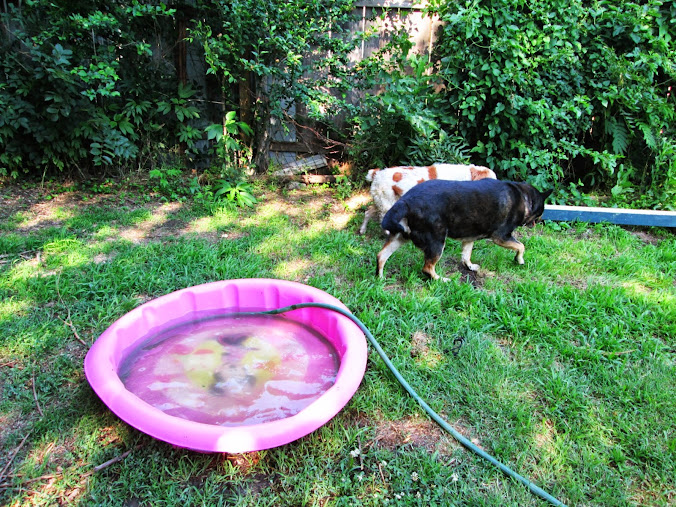
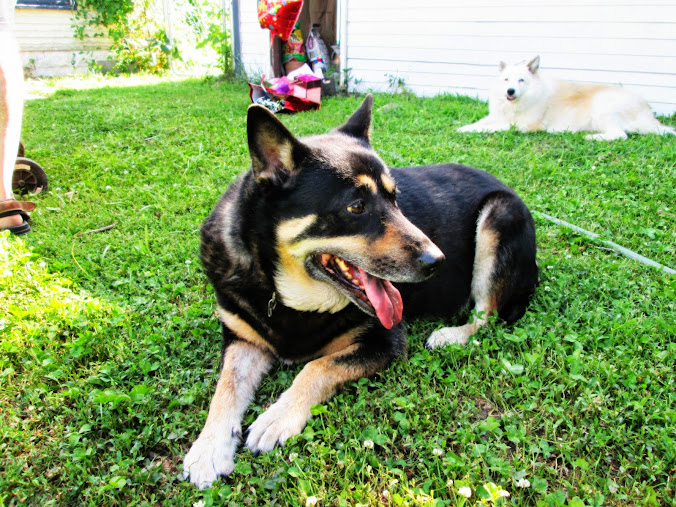
Jessie enjoyed having friends over, especially her BFF, Doc (pictured above).  But since most of the dogs are older and it was pretty warm, they mostly enjoyed just lazing in the pool and shade.  If you are going to have an outdoor dog party in summer, you really need to have lots of shade, lots of water to drink, and a kiddie pool to help them cool off is a great idea too!

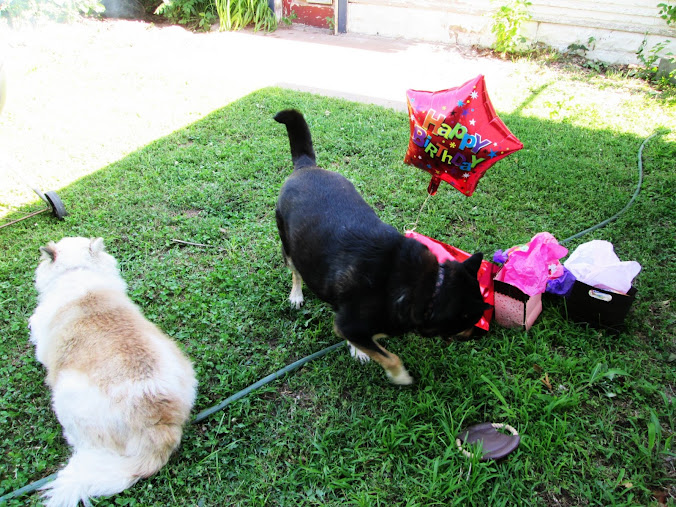
Jessie got so spoiled with gifts – lots of toys and treats!

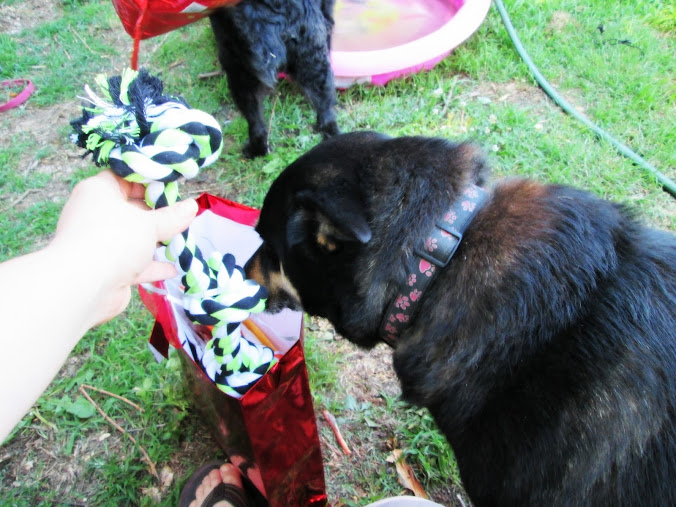
And we sent all the doggies home with party favor bags filled with toys & homemade dog treats.

It was a great time for both furry and human guests, and I’m really glad we gave Jessie the celebration she deserved.

Happy birthday, sweet girl!

A Brony Birthday Party

Posted on

My little sister (that’s her with the black ponytail) threw a My Little Pony birthday party for her boyfriend last week.  That’s right, he’s a Brony.  A brother who likes My Little Pony.  I love that he’s secure enough in his masculinity not to have any shame about it!  He was so excited about the party and while she was taking millions of pictures of him posing with ponies, he declared it to be the best birthday party of his life.

Although I’ve sworn off decorated cakes (multiple times), she talked me into making the cake for his party.  (What convinced me was her offering a really strange amount of money – not like $20 or $30, but $32.73.  It was so weird and funny I had to say yes! lol)  It was a super-simple cake and I thought I’d share how to make one if you ever have need of a rainbow or MLP cake.

You only need a round single layer of cake.  If you make it in a 10″ pan, a cake mix will fit in it and the finished cake will serve up to 16 people, although it will be pretty difficult to serve.  I made mine in an 8″ pan and baked the rest of the batter into cupcakes, so this cake only served 8 but with the cupcakes it would have served 20.  You will also need red, orange, yellow, green, blue, purple, and sky blue frosting for the rainbow.  Pack the frosting into disposable pastry bags, preferably fitted with couplers, though you can just slice the tip off the bag to pipe the frosting directly onto the cake out of the bag if you don’t own a lot of couplers or don’t want to buy them. If you are going to make this into a My Little Pony cake, you will also need extra green for the grass (I used a lighter green than in the rainbow). You’ll need some flower sprinkles (I used these) and a grass tip (Wilton #233, and ignore all the other tips – I didn’t end up using them).  If you want to make a pond, you’ll need some clear piping gel and sky blue gel coloring (available at Walmart by the cake decorating supplies in the arts & crafts section).

Slice your cake in half and squeeze/spread frosting onto one side. I made too much red so that’s the color I chose to use.

Sandwich the halves together.

Place the cake cut-side down to your platter or cake board.

Squeeze frosting onto the cake, starting at the middle with the red (I had to build it up a little to make it higher since it dipped down), making stripes in this order: red, orange, yellow, green, blue, and purple.  I just squeezed it out from my coupler without a tip and I thought this made the perfect width of frosting for each stripe.

Repeat down the other side and fill in the bottom of both sides with sky blue frosting to make it look like you’re looking through to the sky underneath the rainbow.

If you’re going to make a MLP cake, figure out where you’re going to put the ponies, then pipe a blue border to outline where your pond(s) will be.  Using your (clean) finger, spread a thin layer of blue frosting over the platter or cake board so that the silver (or other color of the board) doesn’t show through the piping gel.  Tint enough piping gel to fill the pond(s) with sky blue gel color and spread into the pond, creating some ripple effects with your spoon.

Pipe grass onto the rest of the platter and when you run out of light green, use up the rest of your darker green, then panic and use up your yellow.  Then realize there is no other color left that is suitable for grass so be really strange and spread some orange over the rest of the platter, hoping it won’t look too weird if you write a birthday message across it.  Sprinkle your flower sprinkles all over the grass.

Realize the orange is just wrong, and scrape it all off, rejoicing that you found some extra blue you had set aside in a bowl.  Use it to pipe a border for another lake and repeat the steps to create a second lake.  Rejoice that you saved a little bit of white frosting and tint it green to go around the lake, then steal some of the flower sprinkles to put on the new grass.  Much better.

To serve, cut it in half down the middle, then cut each half in half, angling toward the center.  Essentially, you are cutting it the way you would if it was right-side up, but from the side instead of the top.  Cut each thick slice in half and use a spatula or cake server to draw out one of the bottom pieces (most likely two pieces will come out and you’ll have to pull the top piece off onto another plate.  Once the first piece is out, serving the others is pretty easy as they just start falling onto your spatula.

TASTE THE RAINBOW!

Whoa. It’s like a rainbow…IN MAH MOUTH.