RSS Feed

Cornmeal Griddle Cakes


I recently checked out Baked Explorations from the library and immediately honed in on the Cornmeal Griddle Cakes recipe because I’ve been wanting to try them for a long time.  I think it took me all of two days to get to it.  It was urgent!  And I’m so glad I finally got to try some.

I don’t know if all cornmeal pancakes are this good, but if so, I was really missing out!  Both my husband and I are awfully tempted to call them not just great pancakes but the best. ever.  The best pancakes of all types that we’ve ever had.  But, alas, we can not.  The glorious fluffy buttermilk pancake will always hold the #1 spot, but these are just as good in a different way.

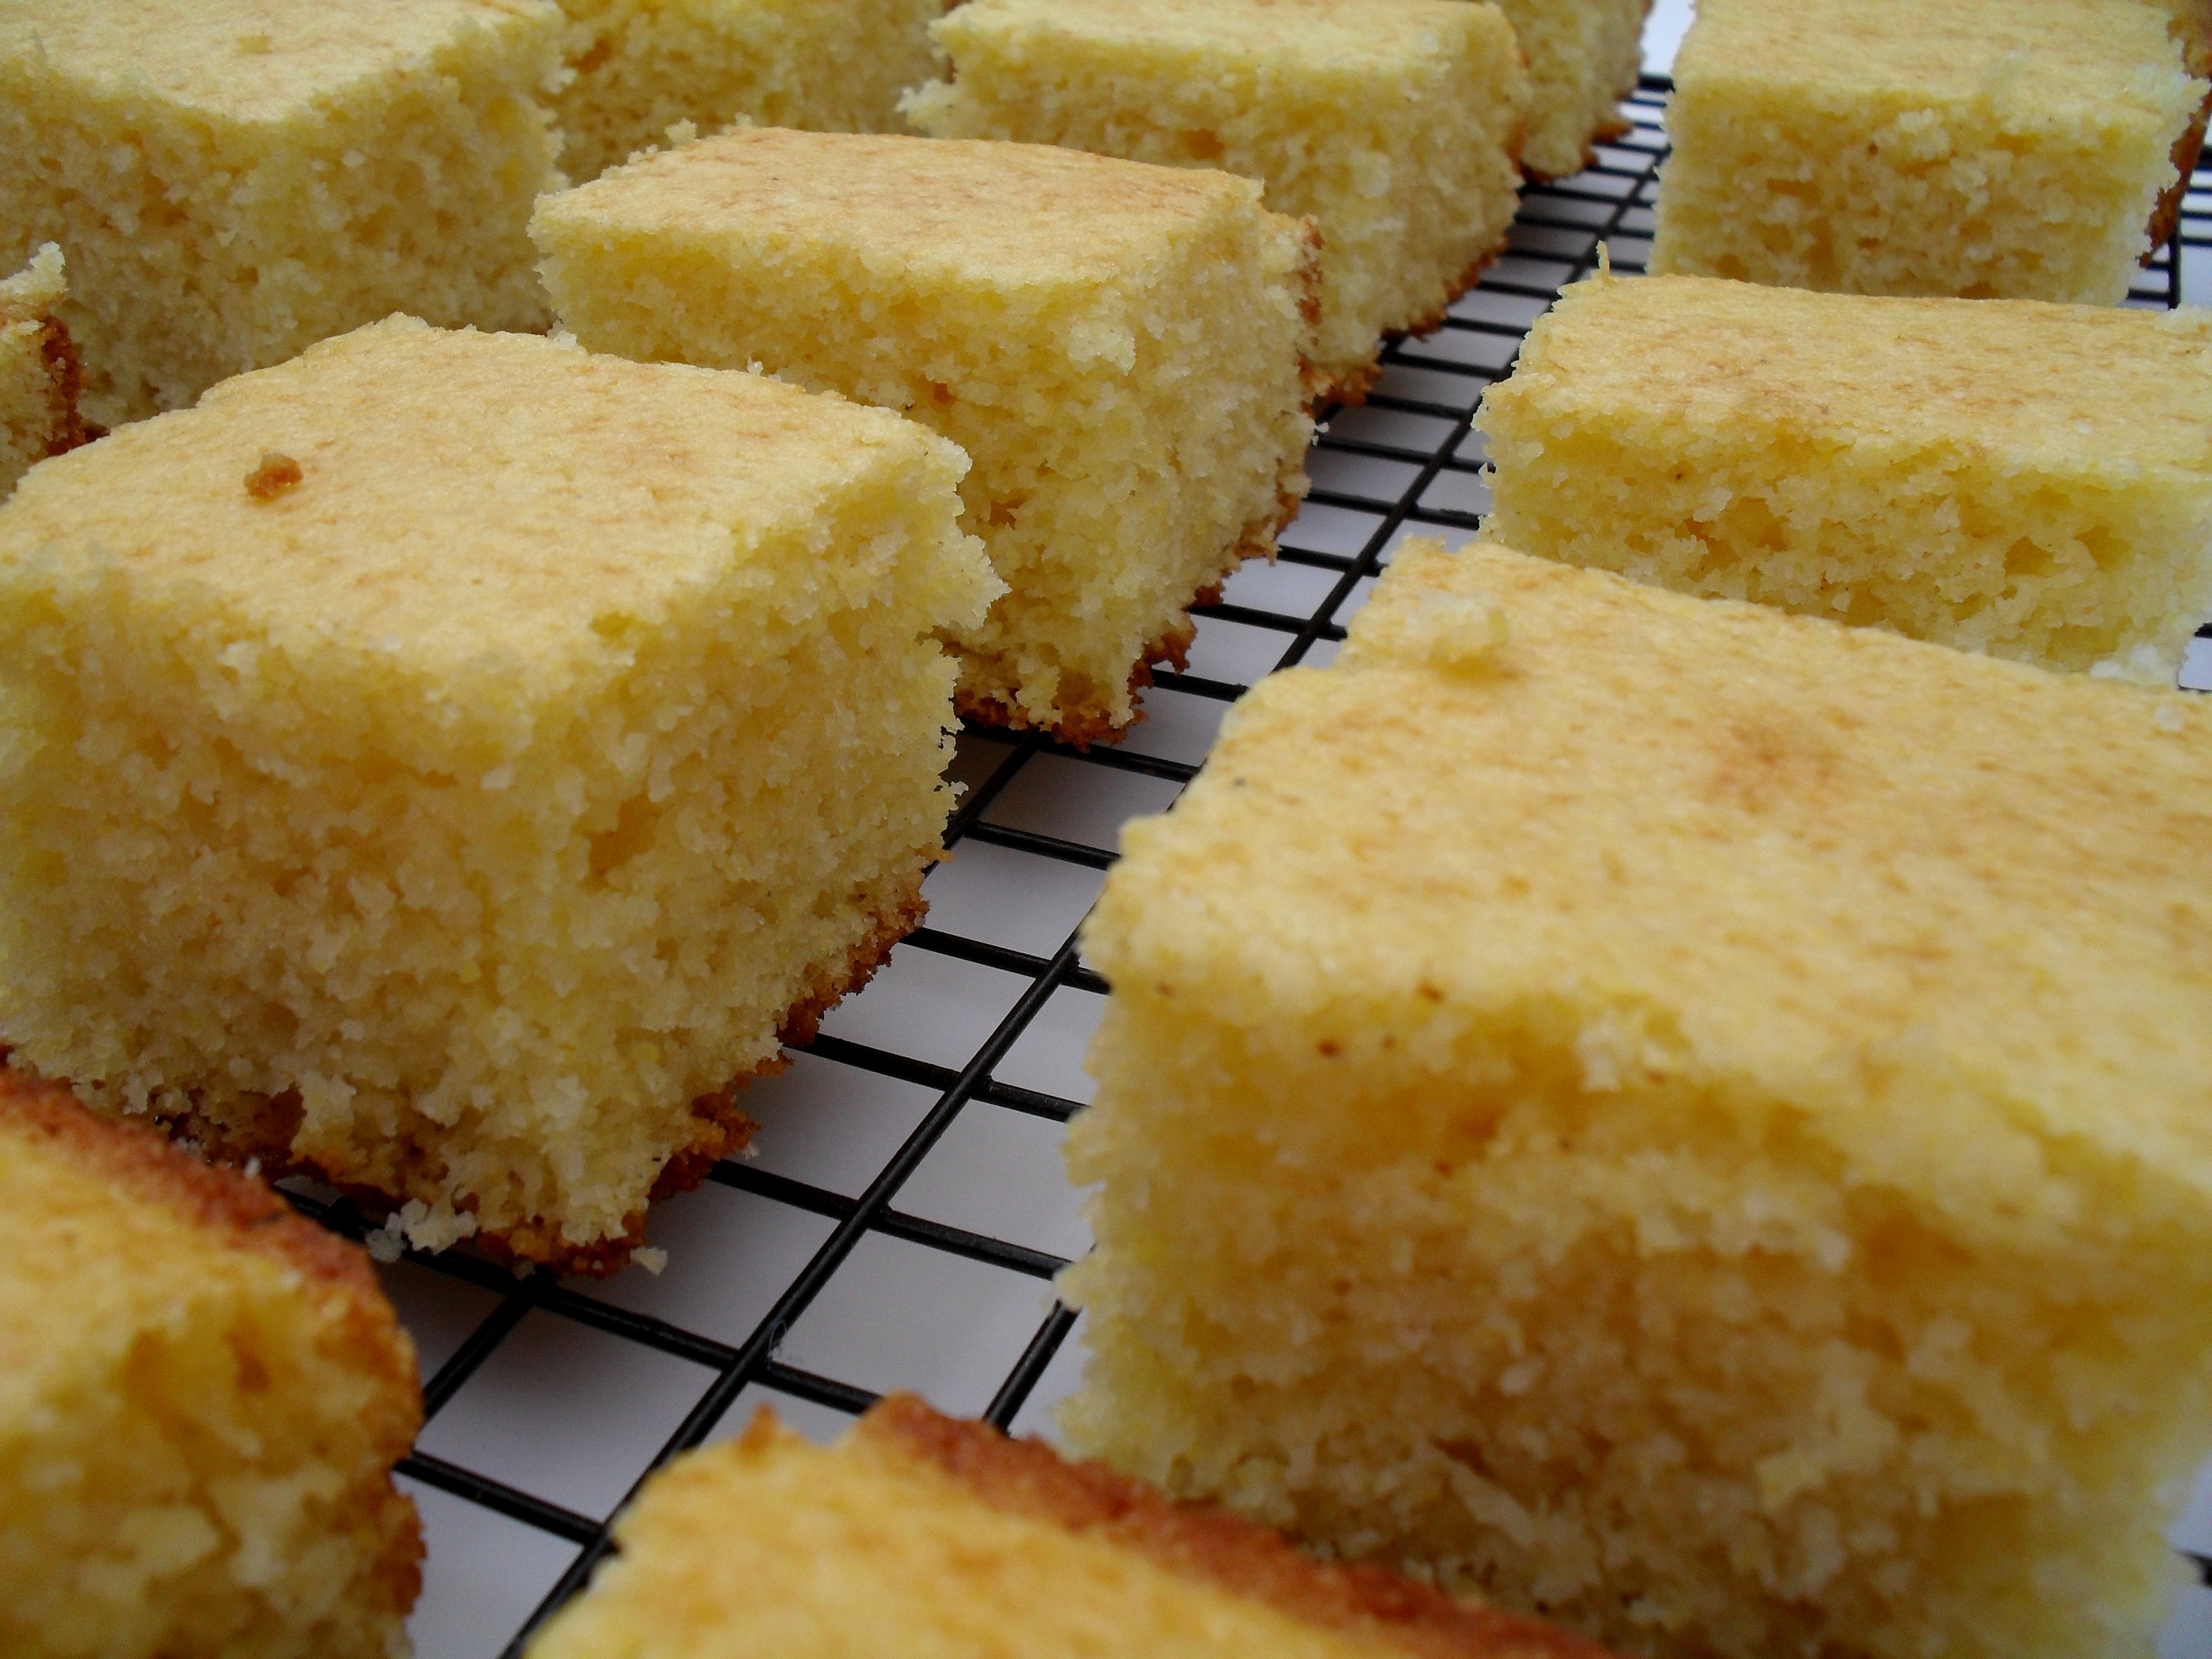
First of all, I was surprised by the texture.  I expected that the cornmeal would make the cakes dry and more dense.  Not so.  They were extremely fluffy, moist and light.  I don’t get it, but I won’t question it.  The corn flavor comes through and just tastes so good with butter, maple syrup and pecans on top.  Seriously.  You must try this!

Cornmeal Griddle Cakes

Printable recipe
Printable recipe with picture

1 1/4 cups all-purpose flour
1/2 teaspoon salt
1 tablespoon baking powder
1/2 teaspoon baking soda
1 cup yellow cornmeal
1/4 cup firmly packed light brown sugar
2 large eggs
1 cup buttermilk

Sift together flour, salt, baking powder, and baking soda in medium bowl. Bring 1 1/2 cups water to a boil. Place cornmeal in a large metal or glass bowl. Stirring continuously, slowly pour the boiling water over the cornmeal. Keep stirring until the mixture has cooled to lukewarm, almost room temperature. Add the brown sugar and stir until combined. Whisk eggs until pale yellow in separate bowl. Add buttermilk and whisk until blended. Add flour mixture, alternating with buttermilk mixture, to the cornmeal in three parts (beginning and ending with the flour mixture), stirring after each addition until just combined. Heat a skillet or griddle pan over medium-low heat. Spray with cooking spray and drop batter in 1/4 cup batches onto skillet. Cook until medium-brown, about 3 minutes, and the tops are bubbly, then flip the griddle cakes over and cook the other side for about 2 minutes and serve immediately. Serve with butter, pecans and maple syrup.

Makes 20 small pancakes. Per pancake: 85 calories; 2 g fat; 15.3 g carb; 1 g fiber; 2 g protein

Recipe source: slightly tweaked from Baked Explorations


Sweet and Sour Chicken with Green Beans


If you’re looking for the usual fried “chicken” pieces (is that grisly stuff really chicken? It seems rather suspicious to me!) served with scary hot pinkish-red sauce, you’re in the wrong place! What I have instead is a wonderful version that does not involve frying, but does involve real chicken, with the only red in it coming from the peppers.  It’s real.  It’s healthy.  It’s bright & colorful.  It’s delicious!  For reals.

Although I found this recipe unique and refreshing, I balked a little at the green beans.  They just seem so random!  I considered subbing green peppers, but I went with it and it all worked great, plus they made for a some nice visual variety amidst the square-ish chunks of chicken and peppers.  I’d recommend following the directions, however, and cutting the green beans in half, because I discovered that forgetting to do so makes serving and eating them kind of tricky. Oh well, it was still delicious and there’s always next time!

Sweet and Sour Chicken with Green Beans

Printable recipe
Printable recipe with picture

1 cup long-grain brown rice
1 tablespoon cornstarch
1/4 cup sugar
1/4 cup light soy sauce
1/4 cup white vinegar
1 tablespoon canola oil
1 1/4 pounds boneless, skinless chicken breast, cut into 1-inch pieces
2 bell peppers (any color) seeded and diced large
1/2 lb green beans, trimmed and halved
5 scallions, thinly sliced
2-inch piece fresh ginger, peeled and minced
3 garlic cloves, minced

Cook rice according to package directions. Heat oil over high in wok. Add chicken, peppers, green beans and cook until softened, 5 min. Add scallions, ginger garlic and cook until chicken is cooked through and vegetables are tender, 4 min. Whisk soy sauce mixture, add to skillet, and cook until sauce is thickened, 3 min.

Serves 4. Per serving: 470 calories; 7 g fat; 63 g carb; 7 g fiber; 39 g protein

Recipe source: Everyday Food January/February 2011

This post is linked with Cupcake Muffins for this week’s BSI: green beans!

Chocolate Torte


*A note before the blog: I have updated my cherry cordials recipe with notes on how to make sure the centers liquify and included a new picture from my latest batch with liquified centers.

Without realizing it, I scheduled a sandwich bread recipe to post today, Valentine’s Day, which included no mention of love or chocolate, or even an apology for giving a bread recipe on the international day of love.  So I hurriedly snapped pictures of our dessert today so that I could atone for my sins.  ;)

Usually I steer clear of desserts that don’t include real butter, sugar (preferably more than one kind), and white flour.  But I’m discovering that not all sweet treats need to be loaded with fat and processed sugar and flour to taste good.

I made this chocolate torte for our Valentine’s Day dessert and we both loved it with a little whipped cream on top.  It is soft, moist, and almost fudgy because of the dates.  The recipe was born of a mistake, having used dates instead of the prunes it originally called for.  I really liked the result, but will be trying it with prunes next time, which I think will give it more of a cake consistency.  With the dates, it’s somewhere between and a brownie and a cake.  It definitely tastes healthier than regular full-fat and full-sugar desserts, but not in an off-putting way.  It is probably my favorite diet-friendly dessert to date!  That it has natural, whole-food ingredients like dates and whole wheat flour is as an added bonus and makes me feel like I’m almost eating health-food.

Chocolate Torte

Printable recipe
Printable recipe with picture

1/3 cup cocoa powder, plus 1 tsp for dusting
1 cup dates, pitted and chopped
1/2 cup strong, hot coffee
1/3 cup whole-wheat flour
2 tbsp all-purpose flour
3/4 tsp baking powder
1/4 tsp baking soda
1/8 tsp salt
1/2 cup packed light-brown sugar
1/4 cup unsweetened applesauce
2 tbsp egg substitute or 1 egg white
2 tsp vanilla extract

Heat oven to 350˚. Coat a 9″ tart pan with cooking spray. Dust with 1 tsp cocoa. Set aside. Combine dates and coffee in a large bowl. Set aside to cool. Sift remaining 1/3 cup cocoa, flours, baking powder, baking soda and salt into a small bowl and stir. To the date mixture, add sugar, applesauce, egg substitute and vanilla and stir until combined. Pour dry mixture into the wet and stir until combined. Pour into prepared pan. Bake until a toothpick inserted in center of cake comes out mostly clean, about 25 minutes. Cool completely before removing and slicing. Serve with whipped cream.

Serves 8. Per slice: 153 calories; .7 fat; 43 g carbohydrates; 4 g fiber; 3 g protein

Recipe source: adapted from Self

Oatmeal Sandwich Bread


This isn’t my favorite bread, but it does have a great, wholesome & hearty flavor. It is an excellent loaf for slicing and making sandwiches. My favorite use for it is making grilled cheese sandwiches, and I also made some yummy ham and cheese melts (with apricot preserves spread on the insides) that this bread was wonderful with. This makes a very large, tall loaf, so if you prefer you can make two smaller, shorter loaves with the dough as I chose to, which makes the bread go further, although your sandwiches will be smaller.  I’m on a mission to lose these last 15 pounds so the smaller sandwiches totally fits in with my plan!  I love it when I can eat real food (read: non-“free” stuff.  Free is good as long as it’s not associated with fat or sugar!) and stay within my calorie budget.

Be sure to check out the recipe source at the end–this gal has tons of healthy, delicious recipes!  I won her low-fat cinnamon rolls in an online bake sale auction and I have to say they are crazy good.  I never thought to replace butter in the filling with applesauce–brilliant!

Oatmeal Sandwich Bread

Printable recipe
Printable recipe with picture

2 cups warm water
1 tablespoon yeast
3 tablespoon molasses
2 1/2 cups whole wheat flour
2 cups all purpose flour
2 tablespoons vital wheat gluten
1 cup rolled oats
4 tablespoon butter, melted and cooled slightly
1 tablespoon salt

For optional topping
1 egg, beaten with a teaspoon of water
2 tablespoons rolled oats

Butter a large bowl and a 9″ loaf pan and set aside. In a large mixing bowl or food processor fitted with a dough hook, mix together water, yeast and molasses. Allow the yeast to stand for 5 minutes until it begins to bubble. Add the whole wheat and bread flour, the oats and the melted butter. Stir to combine. Cover with towel and let rise for 30 minutes. Add in salt and then mix until dough pulls away from sides and becomes a ball. You can add a tablespoon or two of flour or water if necessary. Scrape dough onto a lightly floured surface and knead 5-10 times. Place into the large, buttered bowl. For the first rise, scrape the dough onto a lightly floured work surface and knead it a few times. Put the dough into the buttered bowl, cover with a towel, and leave it to rise for about 1 hour or until it doubles in size. Turn dough out onto floured surface after first rise. Shape by folding into a square, folding top down towards center and bottom up towards the center. Pinch the new top and bottom together to seal, roll to shape and place in the loaf pan, seam side down. Allow to rise in a warm place, covered with a towel for one hour or until dough rises an additional half its size. Preheat oven to 400° F. Right before placing in oven, brush egg wash over the top of the loaf and sprinkle on the rolled oats. Bake for 40 minutes or until the loaf sounds hollow when tapped on the bottom. Remove from pan and cool on wire rack. The loaf slices best when at room temperature.

Veronica’s notes: I substituted rapid-acting yeast as usual, so I mixed it in with the dry ingredients and then added the wet–no proofing necessary.  You don’t technically have to do two rises when you use rapid-acting/instant yeast, so you can just shape it into a loaf and let it rise once before baking, but I usually go ahead and do two rises anyway to develop a more yeasty flavor.

I calculated the nutritional information based on making two loaves and dividing each into 14 slices.  Per slice: 111 calories; 2.7 g fat; 21 g carbohydrate; 2.2 g fiber; 3.4 g protein

Recipe source: From Apples to Zucchini

Roasted Red Pepper and Tomato Soup

Posted on

Grilled cheese sandwiches paired with tomato soup seem to be childhood staples in America, but I never had a grilled cheese sandwich until I was a teen, and never with tomato soup until much later.  I remember when I went to babysit my neighbor’s little boy she asked me to make him a grilled cheese sandwich and I meekly asked her how to do it.  She was dumbfounded, needless to say.  That was my first grilled cheese experience, at sixteen, but after that I started making them at home.

No one gave me the memo that tomato soup pairs perfectly with them until a few years later, but I ignored it since I’ve never liked condensed tomato soup.  That is until I discovered Pacific Natural Foods’ Roasted Red Pepper and Tomato Soup.  That’s when I started serving the classic combo of grilled cheese and tomato soup.  I loved that stuff!

This homemade version is thicker and a little tangier, perhaps because I used jarred red peppers and yogurt rather than roasting them myself and adding heavy cream or milk, but it is just as delicious with the benefit of a homemade taste.  Add more or less sugar to your tastes, and if you decide to use peppers you roasted yourself, please let me know how that turns out–that’s how I’m going to try it next!

Roasted Red Pepper and Tomato Soup

Printable recipe
Printable recipe with link

1 jar (12 oz) roasted red peppers in brine, drained
1 can (14.5 oz) fire roasted diced tomatoes
1 tablespoon olive oil
1 can (28 oz) tomato puree/crushed tomatoes
1 cup low-sodium and fat-free chicken broth
3 tablespoons sugar, or to taste
½ teaspoon salt
¼ teaspoon pepper
½ cup plain, nonfat Greek yogurt
Croutons, for serving

Combine drained peppers and diced tomatoes in a blender. Puree until smooth. Alternatively, you can place them in your pot and use an immersion blender to puree until as smooth as you like. I left some little chunks in mine because I like a little texture. Heat oil in a large soup pot over medium heat, or just add it to the pot if your puree is already in it. Add pepper-tomato mixture, tomato puree, chicken broth, sugar, salt and pepper. Heat just to simmering, about 8 minutes. Remove from heat and whisk in yogurt. Return to stove and heat through. Ladle soup into bowls; top each with a few croutons.

Makes 6 servings.  Per serving:  139 calories; 2.5 g fat; 24 g carbohydrate; 2 g fiber; 3.5 g protein.  (Calories calculated with 4 croutons per serving)

Recipe source: adapted from Family Circle, February 2011.

Lighter Northern Cornbread

Posted on

The civil war may have ended over 100 years ago, but there are still some battles between the north and south that continue to rage.  The cornbread issue, for instance.  It basically boils down to unsweetened (the south) versus sweetened (the north).  (Isn’t it ironic that the issue of the iced tea is the opposite, the south preferring sweetened?)  I was raised on a hearty whole wheat, unsweetened variety, and loved smothering it with butter and eating it with pinto beans during the cold winter months.  But now that I’m an adult and making my own cornbread, I most often make the northern kind since my hubby won’t eat the other.   I’m Switzerland–a fan of both, which is apt since we live in the middle of the US and aren’t really in the north or the south.

For you that enjoy northern-style cornbread, you can find the absolute best recipe here, but if you’re looking for something a little lighter, I’ve come up with a great one for you that won’t disappoint!

Lighter Northern Cornbread

Printable version
Printable version with picture

1 cup all-purpose flour
1 cup fine yellow cornmeal
½ cup sugar
1 tablespoon baking powder
1 teaspoon salt
1 cup nonfat milk
½ cup canola or vegetable oil
2 eggs, lightly beaten

Preheat oven to 350; grease a 9×9 pan and set aside.  Combine dry ingredients in large bowl and stir.  Add wet ingredients and stir just until mixed (it’s OK if there are some lumps).  Bake 30-40 minutes or until toothpick inserted in center comes out clean or with a few moist crumbs. Cut into rows of 4 x 4 to make 16 squares.

Per square: 137 calories; 5.5 g fat; 19 g carbohydrate; .8 g fiber; 3 g protein

Recipe by Veronica Miller

Out of curiosity, how do you prefer your cornbread and tea?  Sweet or not?

Lighter Chicken Tikka Masala

Posted on

Biz from My Bizzy Kitchen has been taunting me with her chicken tikka masala for months.  And months.  It’s my favorite Indian dish of those I’ve had the opportunity to try at restaurants, so I’ve been meaning to make it at home for quite some time.  When Biz changed her recipe to lighten it up, replacing the heavy whipping cream with Greek yogurt, I knew it was time.  And I could not believe that it was even better than what I’ve had at restaurants!  Just like with the dal makhani, it was so good I couldn’t move on and had to bring it back to our menu a second week in a row.  Except this recipe is actually better than the dal makhani, IMHO.  Thank you so much, Biz, for sharing your wonderful recipe with us.  I’m paying it forward to you, my readers, so that you can enjoy it as well.  And you will–it’s simply divine!

Lighter Chicken Tikka Masala

Printable recipe
Printable recipe with picture

1 pound boneless skinless chicken breasts, cubed
3/4 cup (6 oz) nonfat, plain Greek yogurt, divided
1 tablespoon lemon juice
4 teaspoons ground cumin, divided
1 teaspoon ground cinnamon
1 teaspoon cayenne pepper
1 teaspoon black pepper
1/2 teaspoon salt
1 tablespoon butter
1 small jalapeno, cut in half, seeded and chopped
1 teaspoon minced garlic
2 teaspoons paprika
1/2 teaspoon curry powder
6 dried red chili peppers
2 (8 oz) cans tomato sauce
1/4 teaspoon sriracha chili sauce (I use a full teaspoon for more heat)

Mix half the yogurt the chicken, lemon juice, 2 teaspoons cumin, cinnamon, cayenne, salt and pepper. Refrigerate and marinate for one hour. Melt butter in a skillet and add jalapeno pepper. Cook for about 5 minutes. Add the remaining 2 teaspoons ground cumin, garlic, paprika, curry powder, sriracha sauce and stir for 2 minutes, until nice and fragrant. Add chicken and cook for five minutes, turning pieces half way through. Add tomato sauce and dried chiles and simmer for 15 minutes until the chicken is fully cooked.  Remove from heat, stir in remaining 3 ounces of Greek yogurt. Serve over brown rice and garnish with cilantro.

Makes 4 servings. Per serving: 205 calories; 2.5 g fat; 13.7 g carb; 3 g fiber; 29 g protein

Recipe source: barely tweaked from My Bizzy Kitchen

Apple Cake Mabel

Posted on

Before we get to the cake, please remember to head on over to Steph’s Bite by Bite to check out all the wonderful goodies up for auction in the online bake sale, which started at 7 AM today and goes until 9 PM EST.  She’s raising money for the Leukemia and Lymphoma Society and I can’t wait to mail a batch of my Mocha Toffee Brownies to the winning bidder!  Good luck!

OK, now let’s get down to business.  I begged this recipe off my friend, Judy, when she mentioned she had made a sugar-free apple cake that turned out well.  I’m intrigued by anything that is sugar-free that also tastes good, as I have not had a lot of personal success with this.  I discovered that the cake was made with Splenda and shortening and this repelled me on many levels, but also awakened a creative desire to make it healthier with a natural sweetener and not only non-hydrogenated fat, but less of it.  As I mentioned in my post on chocolate chip banana bread, I’ve been experimenting with Truvia, a natural calorie-free sweetener made from the stevia plant’s leaves, so I used that in addition to brown sugar to give a better, more natural flavor.  I didn’t mess with the diet soda in the recipe, but it could easily be switched out for any variety of Zevia (a calorie-free soda made with stevia), or with club soda and additional Truvia.

Now, I’m not sure who Mabel is, or if she was even the one to come up with the original recipe, but I hope that she would be as pleased as I am with my adaptation.  It isn’t as light and tender as a traditional cake, but a little more dense like coffee cake, moist, perfectly sweet & spiced, with tender chunks of apple in every bite.  It is best served the day you bake it as it gets a little dry a couple days later, but it can be returned to it’s former glory with a few seconds in the microwave.

Apple Cake Mabel

Printable recipe
Printable recipe with picture

2 eggs
½ cup brown sugar
4 oz cup (1/2 cup) unsweetened applesauce
1 cup diet Dr. Pepper or cream soda
2 tablespoons canola oil
1 teaspoon vanilla
2 ½ cups all-purpose flour
1/4 cup Truvia
1 teaspoon Vietnamese cinnamon
1 t freshly grated nutmeg
1/4 teaspoon cloves
1 teaspoon baking powder
1 teaspoon baking soda
1 teaspoon salt

1 large apple, peeled & chopped

Toppping
¼ chopped pecans
2 tablespoons brown sugar
2 tablespoons shredded, sweetened coconut

Preheat oven to 350. Grease and flour a 9×13 pan.  Beat eggs until smooth & uniform in color, then add in brown sugar and beat until sugar is incorporated and mixture is slightly thickened. Add applesauce, diet Dr. Pepper, canola oil, and vanilla and mix until incorporated. Add in the remaining ingredients, except for the apples, and beat until smooth, 1-2 minutes. Fold in apples and pour into prepared pan. Sprinkle the toppings over the top in the order listed and bake for 40 minutes, or until a toothpick inserted in the center comes out clean. Cool on a wire rack at least 15 minutes before serving. Serve with whipped cream if desired.

*Veronica’s note: I recommend using a sweet baking apple, such as Braeburn, Rome, or Gala.

Makes 15 servings. Per piece: 139 calories; 2.6 g fat; 28 g carb; 1.4 fiber; 3.2 protein

Recipe source: adapted from Judy L.

Whole Wheat Banana Pancakes

Posted on

Saturday is the one day of the week when I have all the time I want to prepare breakfast, so I tend to make them a little more special.  I created these pancakes to use up one of the quickly blackening bananas in my fruit basket, and they were just wonderful, especially with the addition of fresh banana slices on top.  The bonus is that they’re so light that you can have a stack of two or three without busting your calorie budget, if you care about such things.

Whole Wheat Banana Pancakes

Printable recipe
Printable recipe with picture

¾ cup quick-cooking oats
¾ cup whole wheat flour
¼ cup buttermilk powder*
1 tablespoon Truvia, or sweetener of choice
1 tablespoon flax seeds
1 teaspoon baking soda
1 teaspoon baking powder
½ teaspoon cinnamon
¼ teaspoon nutmeg
¼ teaspoon salt
1 cup water*
1 medium banana
1 egg
1 teaspoon vanilla extract

Measure oats, flour, buttermilk powder, Truvia, flax seeds, baking soda, baking powder, cinnamon, nutmeg, and salt into a medium mixing bowl and whisk to combine. Mash banana with a fork into a separate bowl and whisk in the egg. Add to dry mixture along with water and vanilla. Let rest for at least five minutes while you heat a skillet/griddle. Measure out batter using ¼ cup for each pancake and cook until dry around edges on first side before turning to finish cooking.

*You can use 1 cup regular buttermilk in place of the buttermilk powder and water.

Makes 12 pancakes. Per pancake: 71 calories; 1.3 g fat; 12.5 g carb; 2 g fiber; 3 g protein

Recipe by Veronica Miller

Don’t forget to check out  Steph’s online bake sale today (January 31)!  It’s running from 7AM-9PM EST and this is your big chance to get your paws on a batch of my Mocha Toffee Brownies.  Good luck!

Dal Makhani with Baked Saffron Rice

Posted on

I have a folder on my computer called “future blog” wherein lies all the pictures of food I’ve made that I want to post recipes for.  There are currently 150 pictures in it, which may explain why it has taken me so long to post this recipe!  I have less time time to post recipes than I used to, so I usually just scan the folder when I have a minute and pick whatever picture stands out.  Today, this one winked at me, reminding me how much I enjoyed it and how sorry I should be for having forgotten to post it sooner.

Sorry, dal makhani. You deserve better.  I’m not worthy!

Dennis (the picky eater) and I both enjoyed this Indian dish so much the first time that I ended up making it two weeks in a row, which is rare since I like to try new things constantly.  It’s a very simple recipe, but it is bursting with flavor!

Dal Makhani with Baked Saffron Rice

Printable recipe
Printable recipe with picture

Dal Makhani:
1 cup dried lentils
1 (15 oz) can tomato sauce
1 tablespoon grated fresh ginger
2 large cloves garlic, minced
1/2 teaspoon cayenne pepper, or more to taste
2 tablespoons butter
3 tablespoons heavy cream
fresh cilantro for garnish

Saffron rice:
1 cup long grain white rice
1 tablespoon butter
2 chicken bouillon cubes
½ teaspoon saffron threads
2 cups water

Place the dried lentils in a medium pot and add cold water to cover them by 2 inches. Bring to a boil and then simmer over medium heat for 20 minutes, or until the lentils are soft but not mushy. Drain and return to the pot. Place the pot on the burner again.  Add the tomato sauce, ginger, garlic, cayenne pepper, and butter. Stir and let the mixture simmer over low heat, covered, for 1 hour.

Meanwhile, make the rice: Spray a 1 ½ quart casserole dish with cooking oil and measure rice and butter into it. Heat the bouillon, saffron and water together until boiling and pour over the rice. Cover and bake 30 minutes.

Taste the dal makhani mixture and adjust the seasoning as needed, adding more cayenne if you’d like it spicier. Remove the pot from heat and stir in the cream. Serve with minced fresh cilantro over saffron rice.

Recipe sources: Jenna’s Everything Blog and ifood.