*Update 10/4/11: I won the editor’s choice award for these bars. Whee!


It’s Secret Recipe Club time again! Members of the club are assigned a secret food blog each month and they can pick any recipe(s) they want to make from the blog. On reveal day, nobody knows what other blogger was assigned their blog so I find it really fun.
This month I was super stoked to get assigned to Big Bear’s Wife, because Angie (who also happened to be my group’s host this month) has plenty of dessert recipes to choose from. I think you all know by now that dessert is both my strength and my weakness!

I thought of Dennis when I saw these bars because he loves cherries and chocolate. Chocolate-covered cherries (aka cherry cordials), black forest ice cream sundaes, cherry mudslides (layers of ice cream, cherry pie filling, and hot fudge), black forest cake. He loves it all. And I think I’ve mentioned my little cheesecake problem. So yeah, I pretty much had to make these. And then I pretty much had to get them out of the house as soon as possible so I didn’t eat the whole pan. I managed to inhale two rows before he got them out the door to bring to work. Doh!
I never buy packaged cookie dough (perhaps it’s hypocritical to be for cake mixes but against premade cookie dough-lol), so I adapted the recipe with homemade, but you can use a package of store-bought to save time.
Be sure to check out all the other secret recipe club blogs at the bottom of this post! ***Something is up with the linky thing so there may be no links at the bottom. While it is getting figured out, you can go to Big Bear’s Wife at the bottom of her post to see all the links.***

Choco-Cherry Cheesecake Cookie Bars
Printable recipe
Printable recipe with picture
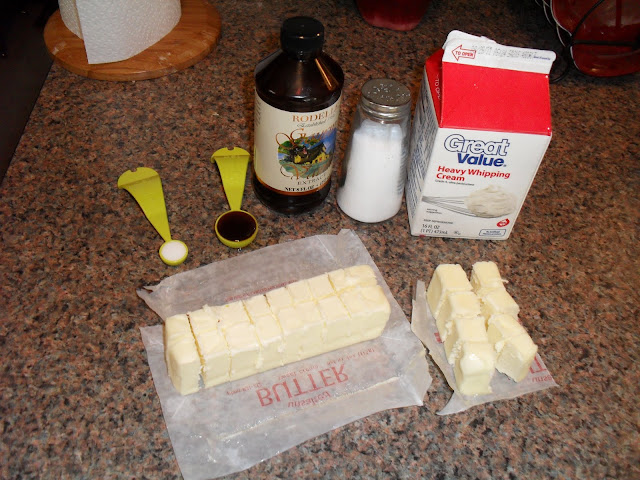
Sugar Cookie layer:
½ cup (1 stick) butter, softened to cool room temperature
½ cup granulated sugar
3 tablespoons powdered sugar
1 large egg
½ teaspoon vanilla extract
¼ teaspoon almond extract
1 ½ cups all-purpose flour
1 teaspoon baking powder
¼ teaspoon salt
Filling & topping:
1 egg, separated
1 package (8 oz) cream cheese, softened
2 eggs
1 can (14 oz) sweetened condensed milk (not evaporated)
¼ teaspoon almond extract
3 drops red food color
1 jar (10 oz) maraschino cherries, finely chopped, drained on paper towels
1 (12 oz) bag semisweet chocolate chips (2 cups)
½ cup butter or margarine
½ cup whipping cream
Preheat oven to 350°F. In a large bowl, cream together the butter and sugars for 3-4 minutes, until the mixture is light and fluffy. Add the egg and extracts and mix until blended. Add half the flour, baking powder and salt. Mix. Add remaining flour and mix just until flour is incorporated and the dough is smooth and soft. Spread and press dough into the bottom of a 9”x13” baking dish. Bake 15 to 20 minutes or until light golden brown. Meanwhile, in small bowl, beat 1 egg white until frothy. Brush egg white over crust. Bake 3 minutes longer or until egg white is set.
Meanwhile, in large bowl, beat cream cheese with electric mixer on medium speed until smooth. Add egg yolk, 2 eggs, the condensed milk, almond extract and food color; beat until well blended. Stir in chopped cherries. Pour cherry mixture evenly over crust. Bake 20-25 minutes longer or until set. Cool completely, about 45 minutes.
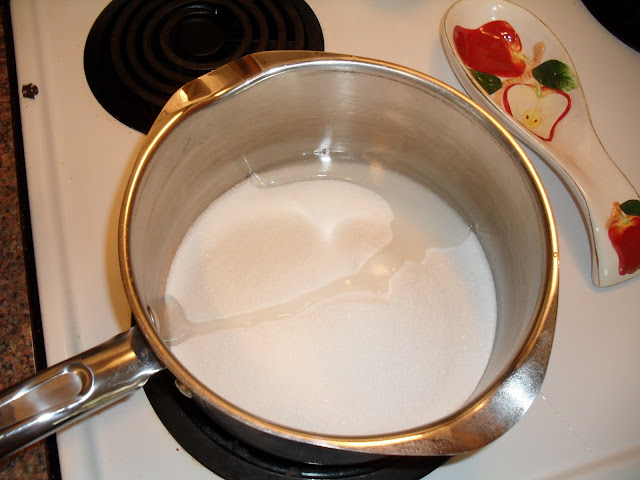
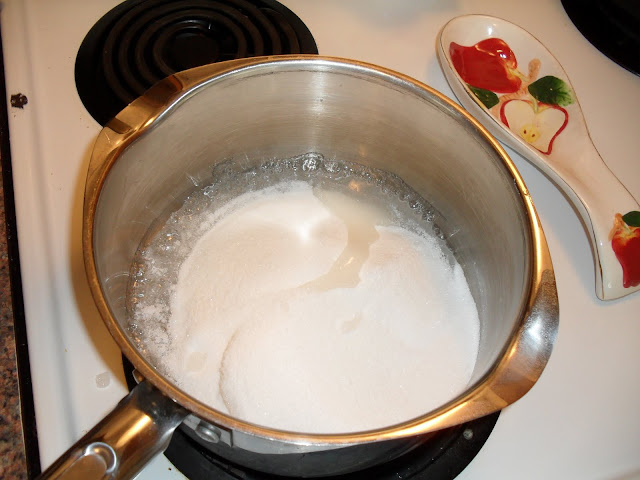
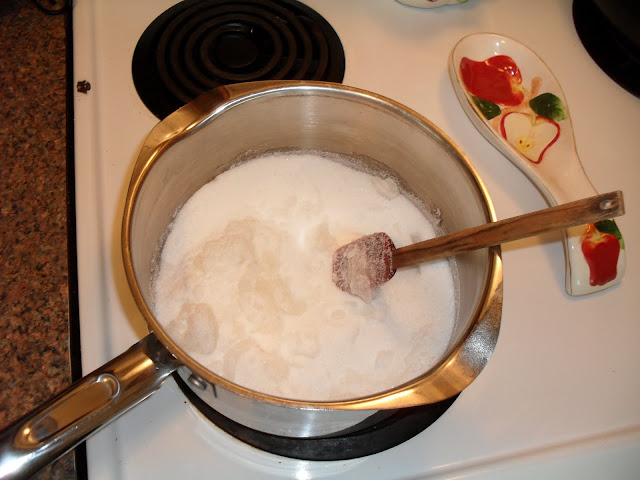
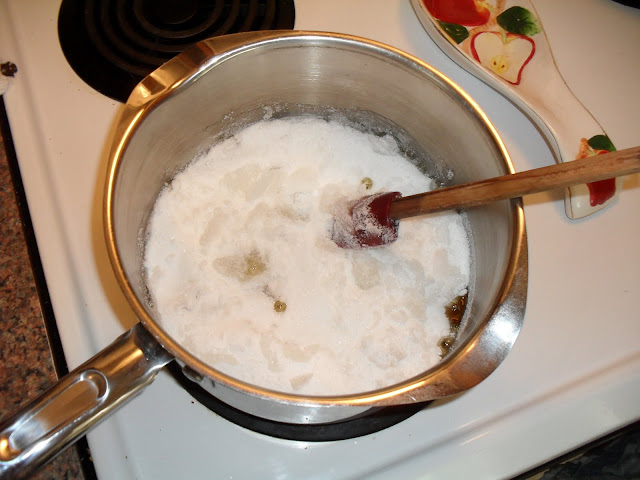
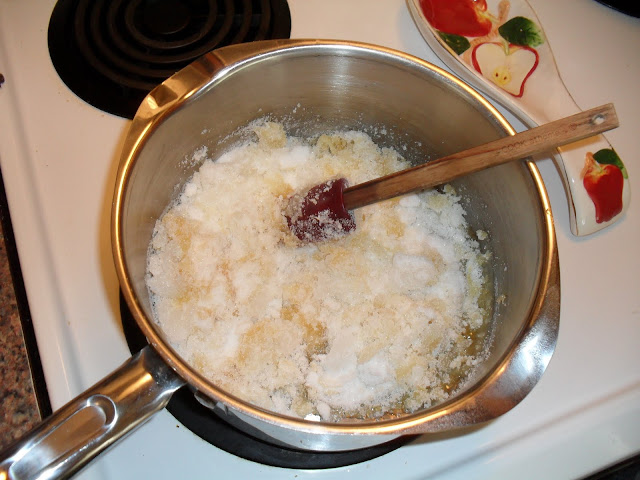
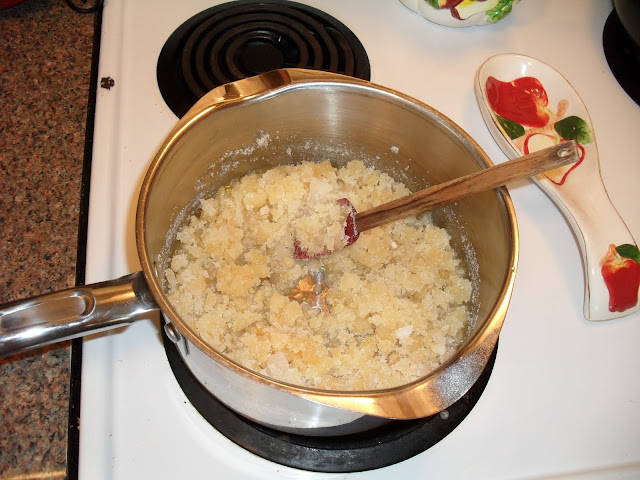
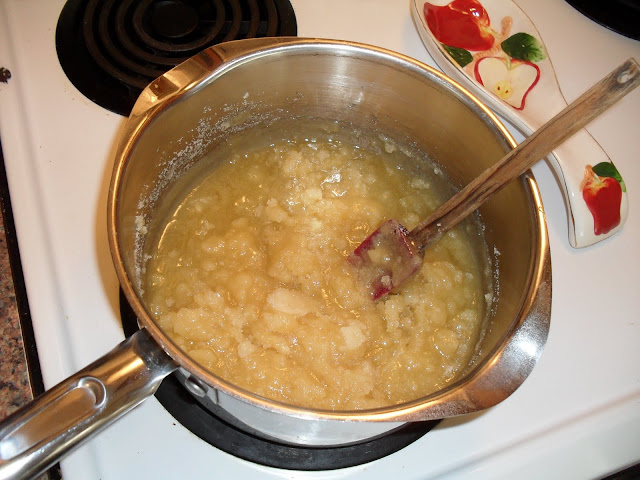
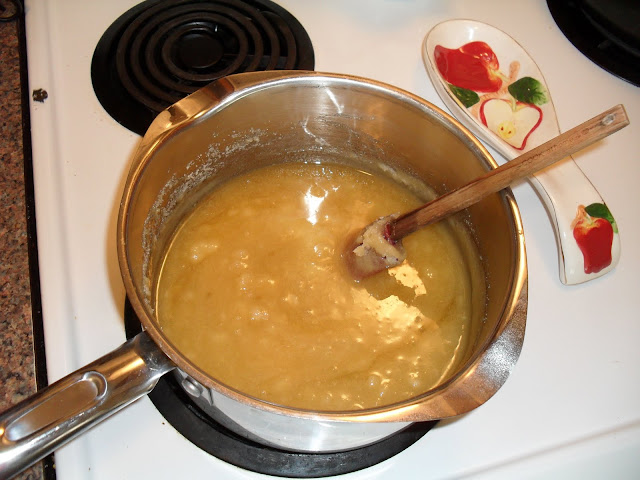
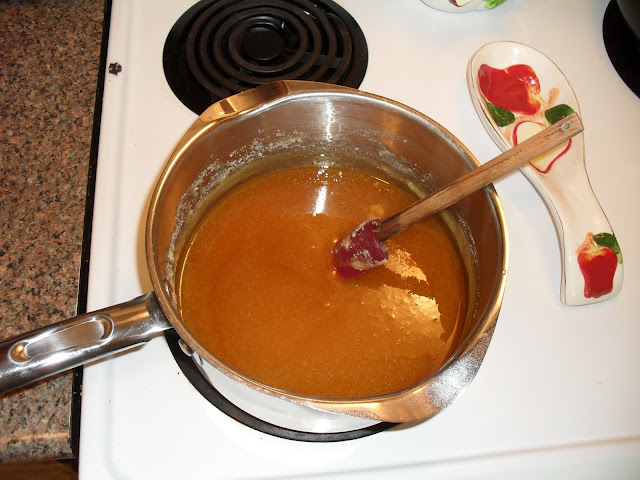
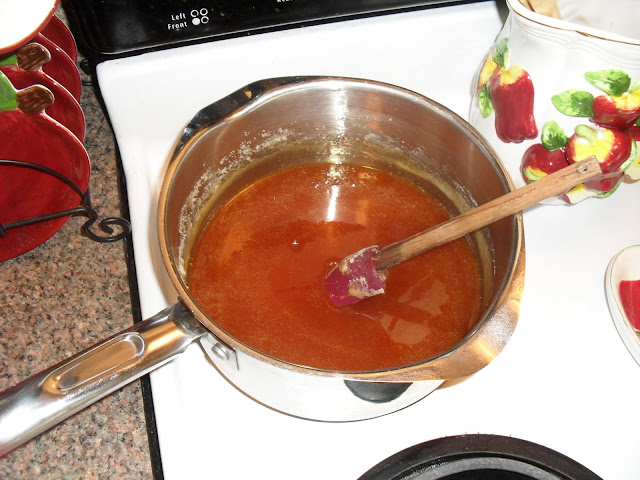
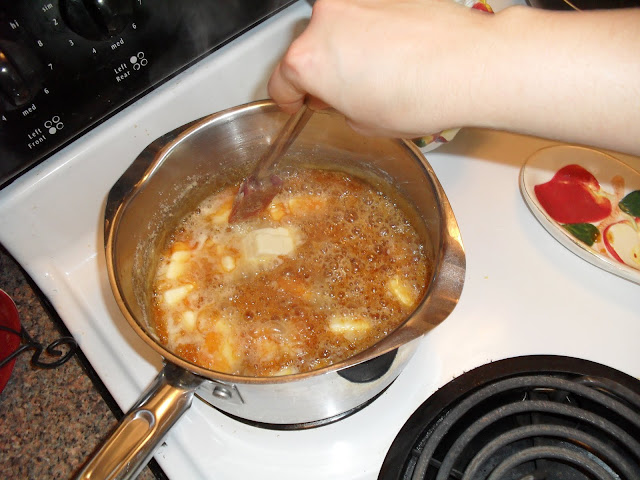
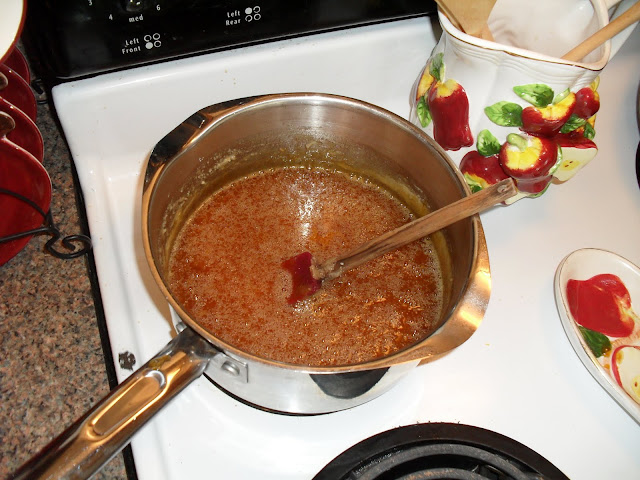
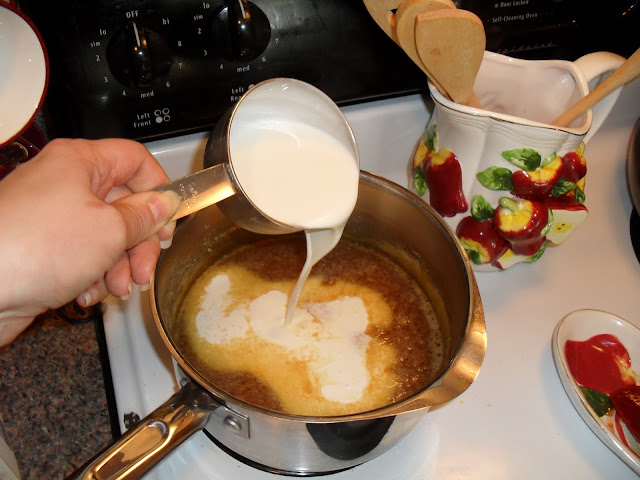
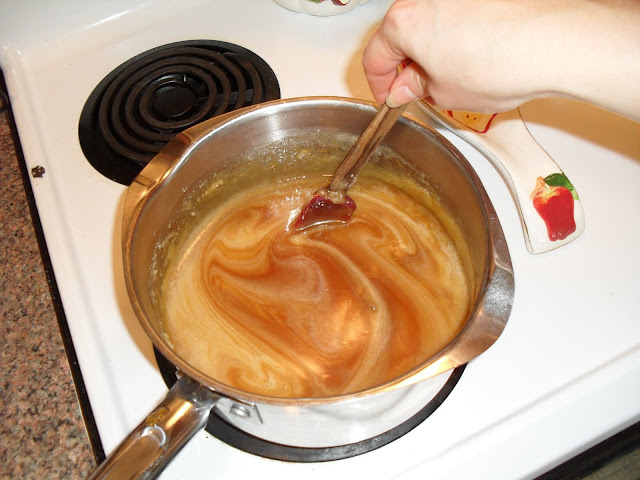
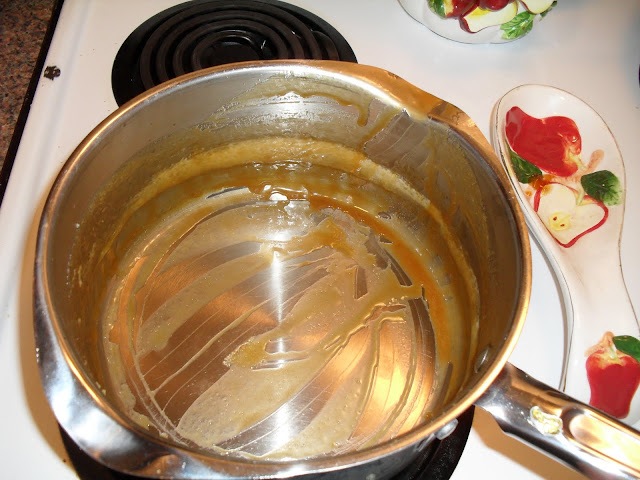
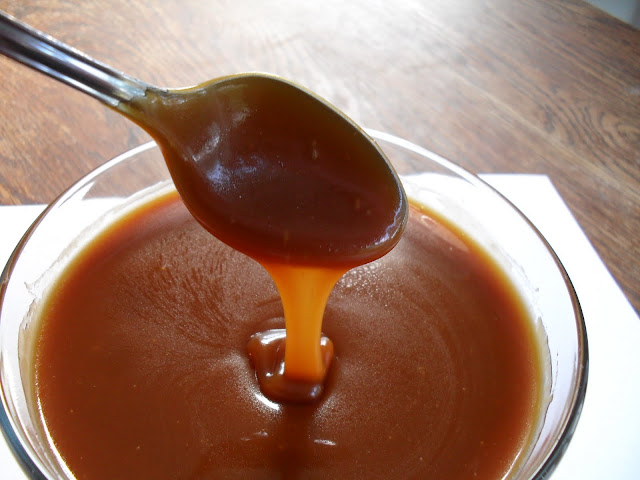
Meanwhile, in medium saucepan, heat chocolate chips and butter over low heat, stirring frequently, until melted and smooth. Remove from heat. Cool 20 minutes. Stir whipping cream into chocolate mixture until well blended. Spread over cooled bars. Refrigerate about 30 minutes or until chocolate is set. For bars, cut into 8 rows by 6 rows. Store in refrigerator.
Recipe source: adapted from Big Bear’s Wife
")

")
")


")