Though my tastes have changed during pregnancy, mainly from loving sweets, to abhorring them, to loving them again, one thing has remained pretty consistent. My zeal for soup. It started early on, I think before I even announced I was pregnant, and continues now, though not as strong. I enjoyed and made many soups during the heat of summer, which was previously against my food religion (ewwww, hot soup in summer?!), but pregnancy knows no restrictions on seasonal meals. I enjoyed winter meals all summer!

I created this chili during one of the weeks a month or so back when we had to eat mainly out of our cupboards because we were stretching our budget to include things like baby bedding, a 3D sonogram and bigger bras. :D And what a blessing that necessity became, because we had some of our best meals during those weeks, including the Tilapia with Chile Lime Butter (I found like 2 tons of tilapia in our freezer).
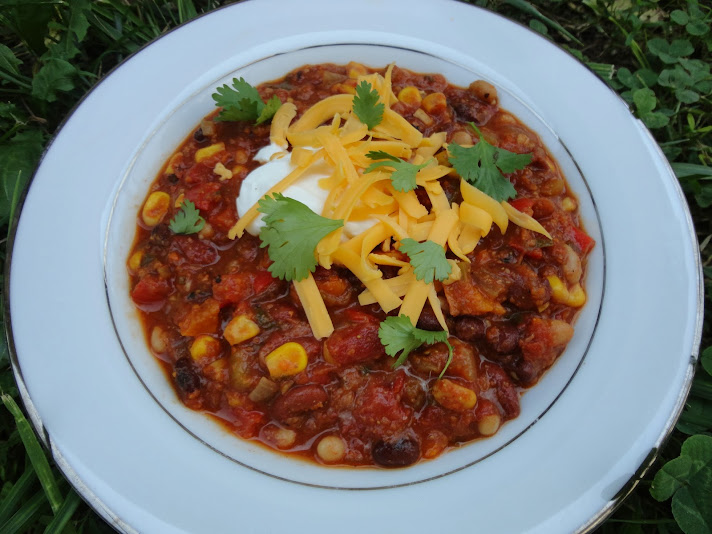
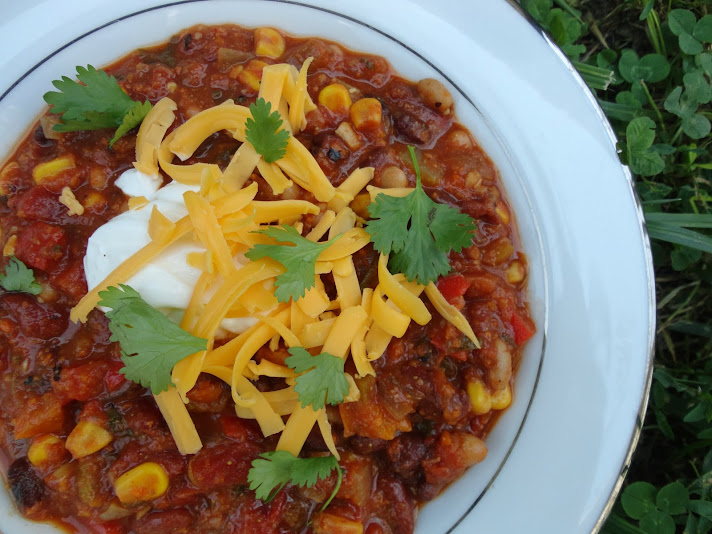
It’s hard to believe I actually had all these ingredients on hand (even the peppers – I barely saved them before they went bad), but I’m so glad I did because the flavor was just incredible and I can’t imagine leaving any of them out. I usually enjoy meat in my chili, but I never missed it here because it’s so hearty and flavorful. I ate leftovers for lunch for several days and was sad to eat the last bowl. It is so, so very good, and for the record I never once ate it with the additional toppings pictured. I just didn’t need anything else – it was so good all on its own.
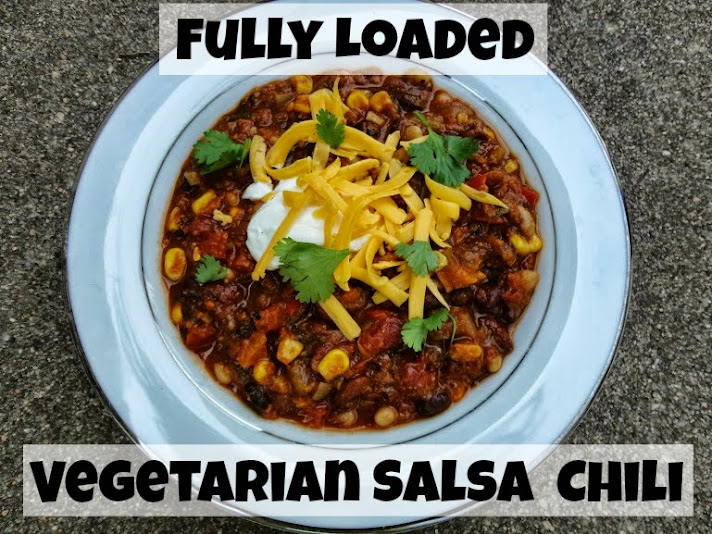
Fully Loaded Vegetarian Salsa Chili
Printable recipe
Printable recipe with picture
3 carrots, peeled and roughly chopped
3 cloves garlic, peeled
1 red pepper, seeded and diced
1 green pepper, seeded and diced
1 orange or yellow pepper, seeded and diced
2 stalks celery, chopped
1 large onion, diced
1 ½ cups salsa
1 (14.5 oz) can diced tomatoes (roasted, if you have them)
2 (15.5 oz) cans white beans (great Northern or navy) , drained and rinsed
1 (15.5 oz) can black beans, drained and rinsed
1 (15.5 oz) can kidney beans, drained and rinsed
1 (15.25 oz) can corn, drained
1 (10 oz) can diced tomatoes and green chiles (such as Rotel)
1 (8 oz) can tomato sauce
1 serrano pepper, finely chopped, seeds included (optional for a spicy kick)
2 tablespoons chili powder
2 tablespoons ground cumin
2 tablespoons real maple syrup
½ teaspoon rubbed sage
Salt to taste
1 bunch cilantro, leaves only, chopped
Optional garnishments: shredded cheddar, sour cream, limes for squeezing over individual bowls
Add the carrots and garlic to a food processor and process until very fine and wet, about a minute, stopping to scrape down the sides often. Add to a stock pot along with the remaining ingredients, except for the cilantro. Bring to a boil, reduce heat to medium, cover, and simmer for an hour or until veggies are tender, stirring occasionally. You can simmer as long as you want but I recommend at least an hour. Stir in the cilantro and serve hot with optional garnishments and cornbread (this chili is especially good with some sweet cornbread to contrast the heat if you made it hot like I did). I have several recipes to choose from below, if you’re looking for a new one to try.
Favorite Cornbread (this one is a sweet Northern cornbread and it is the best. ever.)
Lighter Northern Cornbread
Homestead Cornbread (a flourless, sugarless, Southern-style cornbread)
Amish Friendship Creamed Cornbread
Honey Whole Wheat Cornbread
Sweet Corn Muffins (two ingredients!)
A Veronica’s Cornucopia original, with help from Biz’s Beef & Bean Salsa Chili, and Suzie’s award-winning Next Day Chili.

Interested in other delicious meatless meals? You might enjoy…

Chickpea Salad Wraps {Mock Tuna Salad}

Corn, Avocado & Black Bean Tostadas


 e
e