I started this blog to share my favorite recipes with everyone and to archive them all in one spot for myself, and I refer to it to print out recipes for my binder when I make something for a second time and know there will be a third. But I don’t share everything I eat with you guys on here. Most meals I eat, especially lately, are quick & easy and aren’t really “recipes” or anything impressive enough to share with you.
But, being a food blogger, I often snap pictures of my non-blog-worthy food as a matter of habit and have decided to share some of them here for those like me that enjoy a sneak peek into the dietary lives of others. I hope you find some entertainment value in seeing what it’s really like in my kitchen on the days when I’m not making pizza or cake.
Let’s start with the most important meal of the day: breakfast. The breakfast I eat most often is some form of yogurt (preferably non-fat Greek) with thawed frozen mixed berries, usually mixed with some honey.

Lately I’ve been getting into oat bran and have made three kinds just in the last week:
Apple Cinnamon

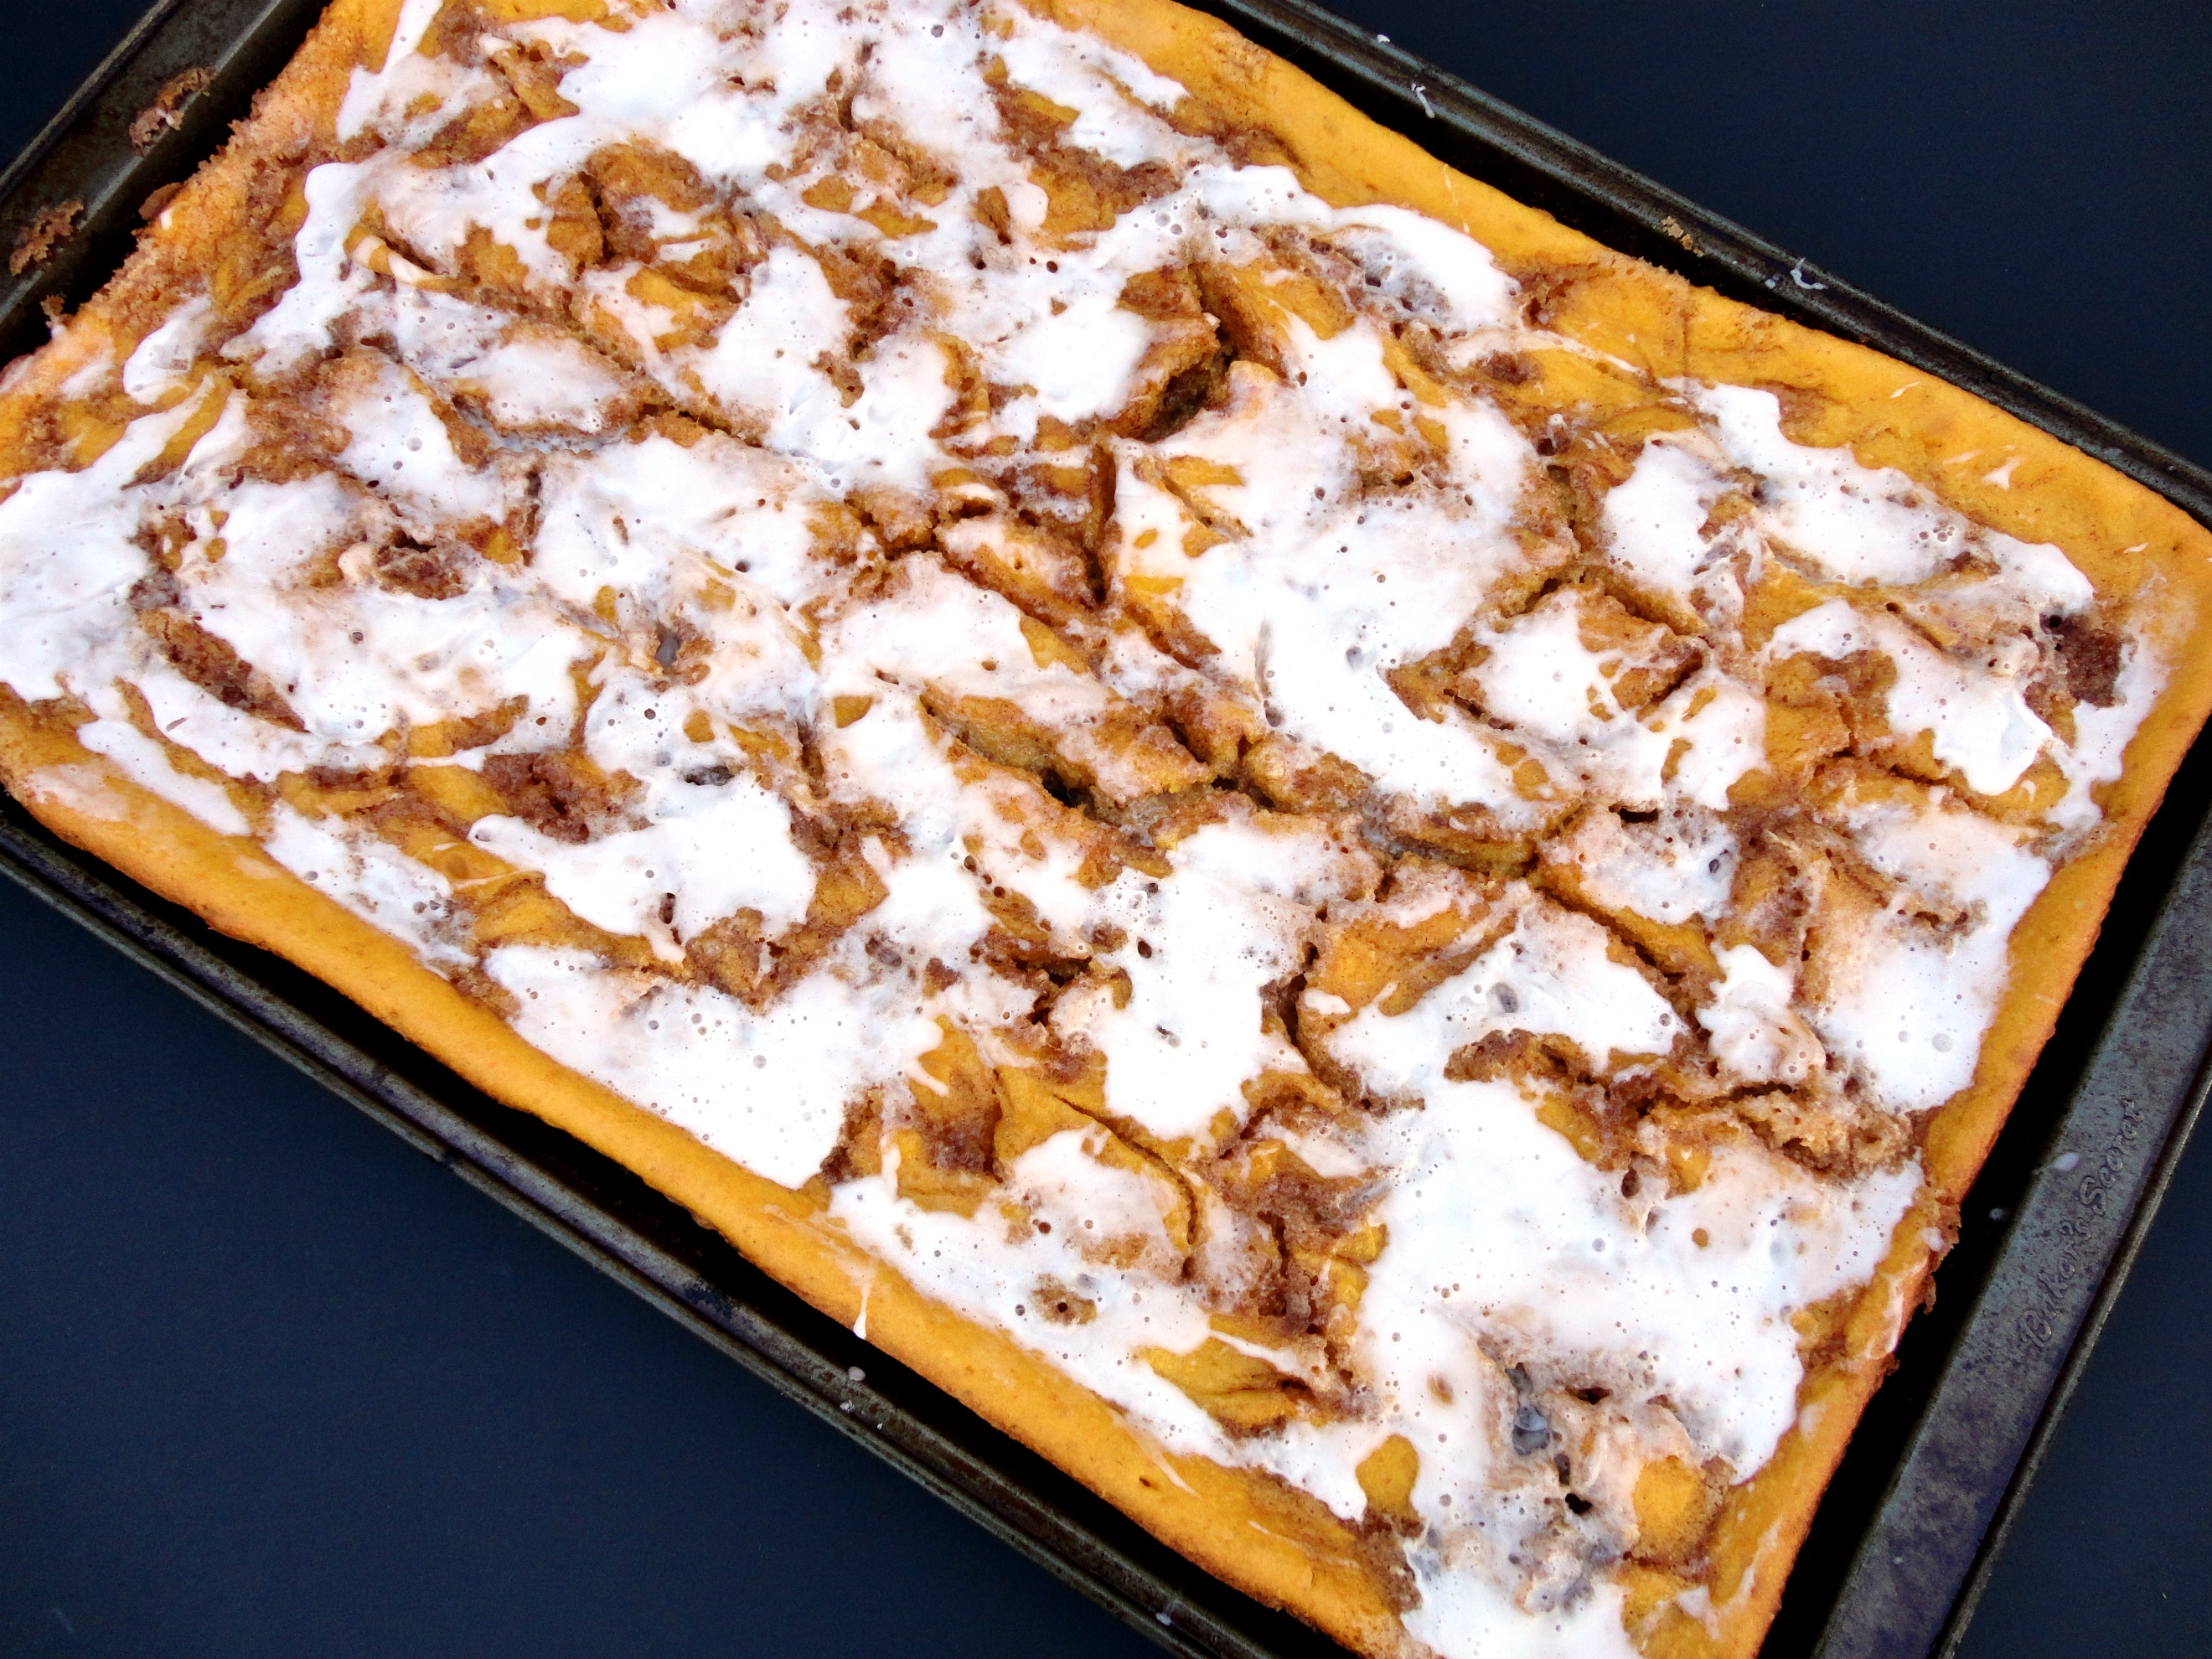
Pumpkin Pie

Unchunky Monkey (banana & peanut butter, no chocolate)

I eat one of these chicken salad kits for lunch almost every work day because they are convenient, cheap ($1 each at Aldi), tasty, and low-calorie. I never get sick of them. I either have baby carrots or Italian Green Beans with it.

This is my “happy dinner.” Tilapia fillets seasoned with Tony Chachere’s, cooked in a skillet for 5 minutes and served with whatever veggies I can find. The most delish & nutrish 5-minute dinner ever. It makes me happy.

Here’s another (overcooked) version of it over stir-fry veggies and red rice. Sometimes I eat this fish three times a week. I love it.

I used those same stir-fry veggies (from a frozen bag) to make a 5-minute vegan dinner by adding black rice (I cook rice in batches and use throughout the week), white beans, and bottled peanut sauce. Yum!

Another easy favorite: the BLT. I have to have Miracle Whip on mine (I use light), but I used to think that “BLT” implied you used ONLY bacon, lettuce, and tomato with nothing else so it’s only recently I started adding a condiment. Much better with.

And sometimes I just start with a can of something and add other something’s to it. This was a can of Aldi limited edition jalapeño black beans that I added peppers & kabocha squash to, served over rice and garnished with cheese.

After I realized how good sweet squash can be with spicy beans, I came up with what I’ll call Black Bean Fiesta. I started with a can of Bush’s Black Bean Fiesta Grillin’ Beans and cooked it with some red, green, and yellow peppers, some cubed butternut squash, diced onion, pickled jalapeños, a bit of the jalapeño juice, and added a tablespoon of sugar. I served it over brown rice with cheddar on top and garnished with cilantro. So good.

I love pimiento cheese and one day wanted to eat a lot of it in one sitting so I decided to plop it all over a big plate of broccoli and call it dinner. Kind of a new take on broccoli with cheese sauce?

I share most of the desserts I make with you because, unlike my meals, most of them are blog-worthy. I really am a better baker than cook. But there is the rare dessert that needs some tweaking and I never get around to it. This crazy pound cake tiramisu is totally blog-worthy (i.e. delicious), if I ever make it again the way I would blog it. The way I made it was really weird (for starters, I only had half a pound cake) but I don’t feel right telling you what you should do without trying it first myself.

And then there’s the meals that I can’t share because they are just not good enough, like these brown sugar beer brats. They were kind of OK, but kind of OK doesn’t cut it! I give you guys only my best stuff. You’re welcome. :)

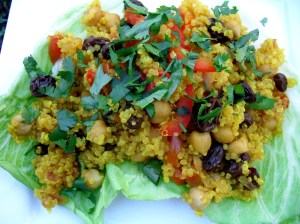
And this beautiful vegan curried quinoa salad that looks like a plate of jewels! How could it betray me and dare to taste anything less than steller? I should try it again and buck the Healthy Cooking mag’s directions and try adding salt this time! Duh.
And then there’s the meals that I can’t share because they are just plain awful. Have you ever had someone immediately barf up a dinner you made them? Yeah, that happened with this one.

I was trying to find ways to use up my vodka that I bought to make Kahlua (thankfully it finally occurred to me to make vanilla with it) and got a recipe for vodka cream sauce from a friend. I don’t blame her for the results–I didn’t have the ingredients I needed but tried to make it with substitutions and we ate a dinner so gag-worthy that Dennis literally went running for the toilet as he finished (but, bless him, he did finish, even if it didn’t stay down!). I don’t think I’ll dare to attempt vodka cream sauce again for a long, long time.
***
GIVEAWAY WINNER
I loved the feedback I got on my anniversary post and many of you gave me some good ideas for future posts. I especially was encouraged to hear how many of you most look forward to Thankful Thursdays because when I first changed my blog title and started including that feature, along with other more personal posts, my readers started unsubscribing right and left. I was disheartened for a while, but was determined to keep doing what I loved, knowing that the ones that stayed with me were the ones I wanted anyway. Now I feel like I have a group of people here that are not only hungry for recipes, but care about or are interested in me as a person (or at least don’t mind me getting personal once in a while). And I find that I care about my readers more now too, because in return, you are sharing more of yourselves with me in comments and emails and I’m getting to know you! Thank you for supporting me through that transition. And for those of you who really only are here for the recipes, thanks for ignoring all the other stuff and sticking with me in spite of it! :)
OK, I drew for the Amazon gift certificate from the comments on that post, and I’m so totally stoked by the against-all-odds winner: Rani! She was the very first commenter and this has to be the first time in the history of blog giveaways that the first commenter was drawn (I used random.org to generate a number)! I’m also stoked because she’s a cancer survivor and Mom of four, so I’m glad the gift certificate is going to someone who deserves a little gift for herself! Congrats, Rani, I sent the certificate to your inbox.


