
This month my Secret Recipe Club assignment was Annie’s Noms and I was in heaven. A baking blog with the majority of recipes given with grams instead of cups! Be still my beating heart. :) While I enjoyed scouring through her recipes to find the one, I actually found it in the first thirty seconds but just had to keep looking because, hello. A baking blog. I love you and all your desserts, Annie!
I knew before I even saw the recipe that her Biscoff Butter Bars were exactly what I wanted to make. Hello. Biscoff and butter? Gimme gimme. If you haven’t had Biscoff yet, it’s cookie butter – smooth and creamy like peanut butter but made with lightly spiced cookies instead of peanuts. Yes, seriously, cookie butter really is a thing, and it’s so good. I encourage you to try it. Most supermarkets, including Walmart, sell it now, and can be found by the peanut butter usually. Annie likes to eat it on croissants and that sounds like heaven!! Personally, I try not to buy it too often because it inevitably gets eaten spoonful by spoonful until I’ve devoured the entire jar in a shamefully short amount of time. But adding it to a butter-laden recipe, while perhaps even more sinful, makes it a lot easier to share with others and keep it off my own hips.

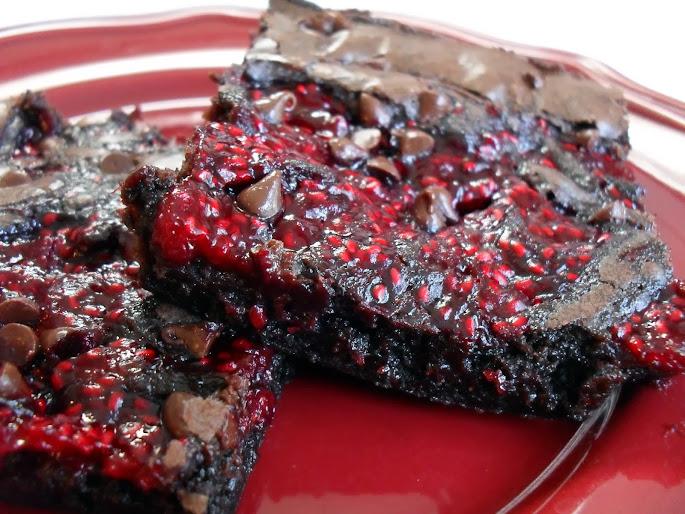
Unfortunately, I ended up eating more than my fair share anyway. Although I over-baked them a bit (something I previously considered an unforgivable culinary sin until I had a child and realized that over-baking is sometimes unavoidable), they were so good it was hard to stop eating them. Butter makes everything better, even something as perfect as Biscoff.
Please stop by Annie’s blog to see how beautiful these bars are when baked perfectly, and check out her other yummy desserts!

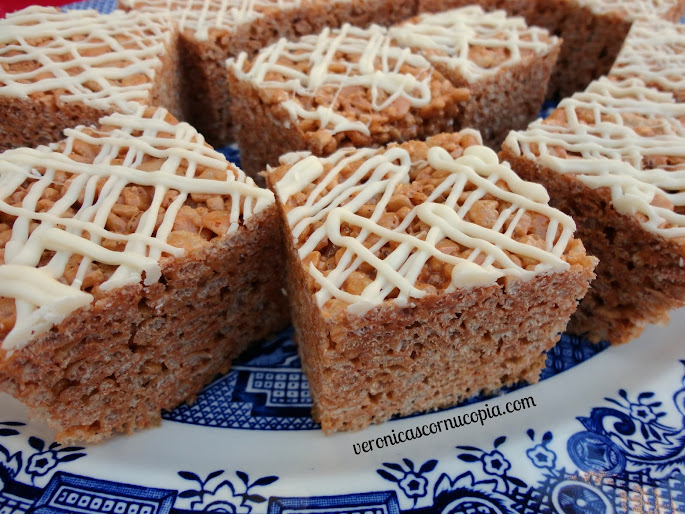
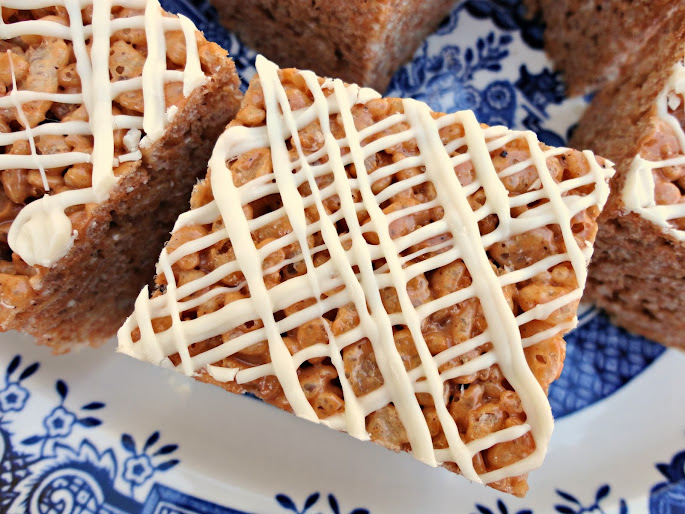
Biscoff Butter Bars
Printable recipe
Printable recipe with picture
½ lb (2 sticks) unsalted butter, at room temp
½ cup (3 ½ oz / 100 g) granulated sugar
¾ cup (3 oz / 84 g) powdered sugar
1 tablespoon vanilla extract
2 cups (8 ½ oz / 242 g) all-purpose flour
1 (14.1 oz) jar Biscoff Spread
Preheat the oven to 325F and grease a 9×9 in pan. Place the butter and sugars into a large bowl or the bowl of your stand mixer and beat until light and fluffy, about 2 minutes on med-high speed. Add the vanilla extract and flour and mix until a soft dough forms. Press half the dough into the greased pan (wrap remaining dough in plastic wrap and refrigerate) and bake for 12-14 minutes, until puffy and ever so slightly firm to the touch. It will not look done.
Allow the base to cool for 15 minutes. Once cooled, spread the Biscoff over the base, leaving a 1/4 inch gap around the edge. Crumble the remaining dough over the top of the Biscoff and bake for 20-25 minutes, until puffy, very lightly golden and slightly firm to the touch. Allow to cool completely before removing from pan. Slice into 12-15 bars.
Recipe source: slightly adapted from Annie’s Noms.


")


")

")
")


