
*Disclaimer: this post is sponsored by Kellogg’s, but all thoughts and opinions (and recipe-hehe) are my own. :)
Have you seen this adorable Rice Krispies commercial? Sometimes I really miss commercials (we don’t watch TV), so it’s nice that the good ones are available online whenever I choose to watch them.
[unrulysponsored code=144502383 align=center]
It’s true, they are so gentle on your tummy, which I know because I’m pregnant and a pregnant tummy can be awfully sensitive sometimes. Although I lucked out in the morning sickness department, even I have food aversions and prefer Rice Krispies over a flavorful meal once in a while. They are just so good! They also supply a surprising amount of nutrition, despite consisting mainly of rice. Have you ever looked at a nutrition label for these babies? Gotta love that they’re low in calories as well.

The ingredients for my treats. Still easy to digest…maybe not as nutritious. ;)
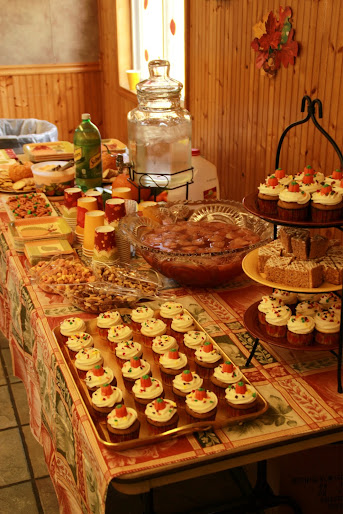
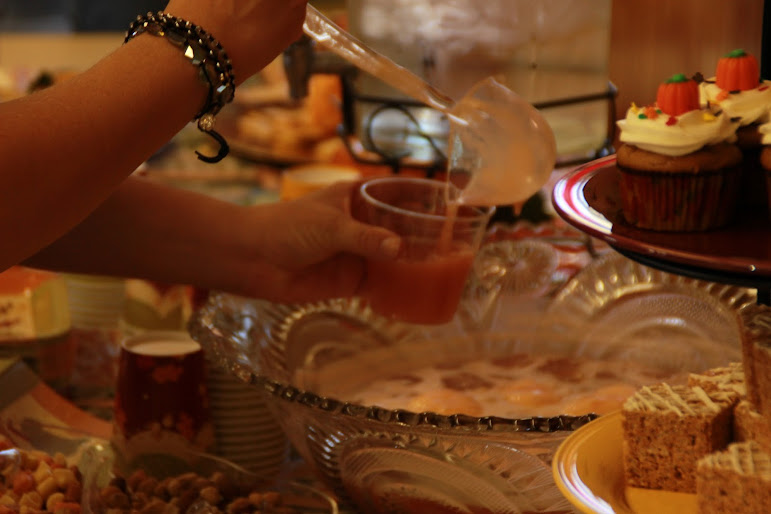
Anyway, after watching the commercial, I realized just how long it’s been since I’ve made Rice Krispies treats! I had a special reason to make these, as well as the Pretzel Pumpkins yesterday, but I’ll share that with you later.
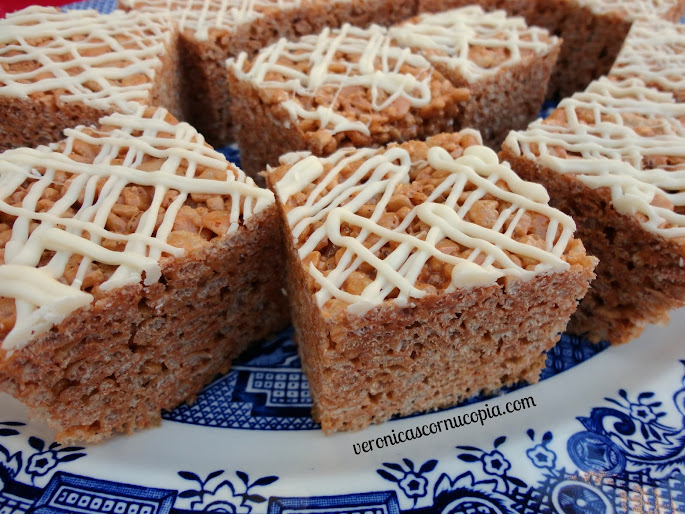
Although I love to bake, there is something really satisfying about combining a few ingredients and having a delicious treat to enjoy without ever having to turn on the oven. Rice Krispies treats are my favorite no-bake treat, and I love coming up with new & fun recipes for them. These were inspired by the Pumpkin Spice Mallows that are cropping up in stores lately, combined with my favorite recipe for Brown Butter Crispy Treats. They are so simple and delicious!
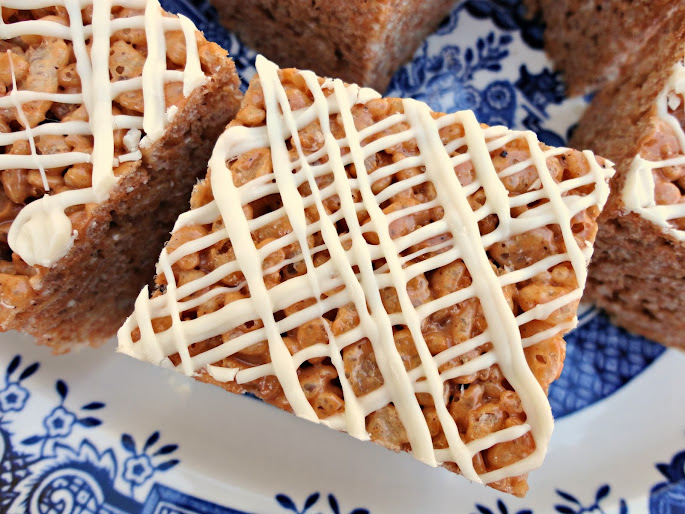
Brown Butter Pumpkin Spice Krispies Treats
Printable recipe
Printable recipe with picture
½ cup (1 stick) unsalted butter, plus extra for the pan
1 10-ounce bag Pumpkin Spice Mallows
1/8 teaspoon salt
6 cups Rice Krispies cereal (about half a 12-ounce box)
1 cube of vanilla almond bark/candy coating (for optional drizzle)
Line a 9-inch square cake pan with 2-inch sides with foil, letting some hang over the edge. (You can also use a 9×13 pan if you prefer thinner treats.) Butter the foil and set aside.
In a large pot, melt butter over medium heat. Continue to cook, stirring constantly, until the butter turns amber in color, and the solids have separated and turned a chocolate brown. Turn off the heat and stir in the salt and the Pumpkin Spice Mallows. Continue to stir until the marshmallows have melted completely and the mixture is smooth. Remove the pot from the stove and stir in the cereal until well coated, then quickly spread into prepared pan and press down using a silicone spatula or a piece of waxed paper that has been sprayed with oil.
Once the bars are completely cool, use the foil overhang to lift the bars out of the pan. If desired, melt the almond bark in a small microwave safe bowl – microwaving for 1 minute at 50% power, then turning over and cutting in half, and microwaving another minute at 50% power, stirring well until smooth. You might need an additional 10 seconds or so to get it completely smooth but be careful not to overheat it or it will seize up. Spoon into a disposable pastry bag or small Ziploc bag and snip a bit off the tip (or corner for the Ziploc bag) and use a sweeping motion while gently squeezing to drizzle over the top of the treats. Allow to set, then cut into squares.
Need some more snap, crackle, pop in your life? Try these yummy treats!

Salted Brown Butter Crispy Treats

Gingerbread Rice Crispy Treats

Cake Batter Crispy Treats


")


