
We celebrated Father’s Day early this year! OK, truth be told, I made this cake for Father’s Day five years ago. This is probably the longest it’s ever taken me to blog a recipe, but with the Black Walnut Banana Bread recipe I shared earlier this week, I figured it was about time.
You know a cake is good when you can still remember the flavor five years after you ate it. This cake is what turned me onto using black walnuts in banana bread – the pairing is ever so perfect. And the caramel frosting just puts it over the top! Enjoy it for Father’s Day, or Mother’s Day, or just because you really need this cake in your life. Because you do.

Tennessee Banana-Black Walnut Cake with Caramel Frosting
Printable recipe
Printable recipe with picture
Cake:
1/2 cup (3 1/4 oz) solid vegetable shortening
1 1/2 cups (10 1/2 oz) granulated sugar
2 eggs
2 large overripe bananas
1/4 cup (2 oz) buttermilk
1 teaspoon pure vanilla extract
2 cups (8 1/2 oz) all-purpose flour
1/2 teaspoon baking soda
1 cup (4 oz) chopped black walnuts
Frosting:
1/2 cup (1 stick) butter, softened
1 cup (7 1/2 oz) packed dark brown sugar
1/3 cup heavy cream, plus more as necessary
1 tablespoon pure vanilla extract
1 (16 oz) box confectioner’s sugar
2 cups (8 oz) finely chopped black walnuts, for garnish (optional)
Preheat oven to 350 degrees. Grease and flour two 9-inch cake pans.
For the cake: In a medium bowl, stir together flour and baking soda; set aside. Using an electric mixer, cream together shortening and sugar in a bowl until light and fluffy, about 2 to 3 minutes. Add eggs 1 at a time, mixing well after each addition. Mix in mashed bananas, buttermilk, and vanilla. Add flour mixture, mix until just combined. Stir in black walnuts.
Pour into prepared pans. Bake for 35 minutes. Cool in pans on a cooling rack for 10 minutes. Remove from pans and cool completely.
Meanwhile, prepare frosting. Melt butter in saucepan. Add brown sugar and cream. Cook over medium-low heat for about 2 minutes, until the sugar is dissolved. Remove from heat and add vanilla. Transfer to a large bowl.
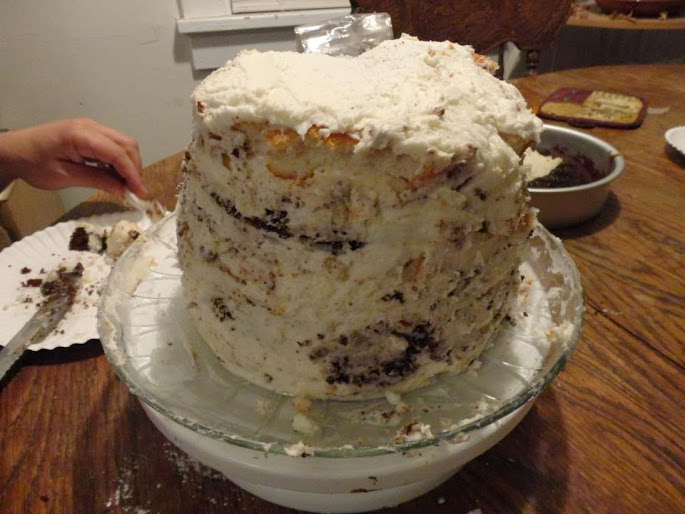
Using a handheld electric mixer, beat in confectioners’ sugar until smooth. If frosting is too thick, add 1 tablespoon heavy cream at a time until consistency is right. Sandwich 2 layers of cake with icing. Ice the outside of the cake. Surround sides of cake with crushed black walnuts.
*Cook’s note: DO NOT substitute English walnuts for black walnuts.


")


