
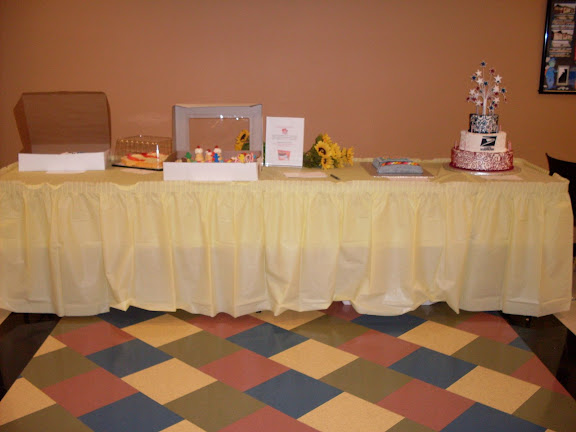
I’ve made several tiered cakes over the last few years (you can see them all here), but a friend’s surprise 40th birthday party last November was my first opportunity to do a really decadent chocolate one. Needless to say, I was extremely excited to try something new!

With my husband, left, and the birthday boy at his party
If I had to pick a single type of cake to eat for the rest of my life, it would be white with cream cheese wedding frosting, but if you are a chocolate lover, this is the cake for you. I know I tend to be quite effusive over most of my cake recipes (I’m effusive by nature, and I can’t help it–my cakes are the bomb! I kid, but really. They are. :) ), but I can tell you that this is the cake that I have gotten the most positive feedback for. That may be in part due to the number of people I served it to, since most of my cakes are only made for groups of about 10 people, but I do think this is probably the best chocolate cake I have in my repertoire, and I have made it several times since the birthday party to great reviews as well. It is my husband’s all-time favorite cake, and although it isn’t my favorite cake, it is my favorite chocolate cake.

If you are thinking about making a tiered cake in the future, but are intimidated, I highly recommend the method I used for this particular cake. If you frost each cake on top of a thick, foil covered cake board that is at least 2″ larger in diameter than the cake itself, then insert four hidden pillars into the bottom two tiers, all you have to do is transport the cake in three tiers to the location where the cake will be set up, and plop each cake on top of the pillars. And you’re done! With the usual way I do it (you can read about that process here), the stress level is considerably higher and there is more chance of messing up the cake. It is almost impossible to mess it up using hidden pillars.


*Hidden pillars aren’t actually invisible, as you can see, but since they are tall you can insert them down into the cake so that each tier is supported from the base of the cake below it. It is the part of the pillar inserted to the cake that is hidden.

Another tip is that once the cakes have been removed from the refrigerator to come to room temperature, make sure they have a way to breathe. After inserting the pillars in the bottom two, you don’t have to worry about them. But you should insert a hole with a skewer through the top of the top tier as well, or choose a place on the least attractive side of the cake (the one you’ll face to the back of the room) to poke a hole into each layer of the cake. This is to prevent air pockets from forming underneath the icing. This is a problem that cake decorators face across the world, and according to the professionals I have consulted, no one knows why it happens. When I make real buttercream with eggs and no powdered sugar, this never happens. So I suspect it has something to do with a reaction between the cake and the powdered sugar frosting on the surface. So if you are using a powdered sugar frosting (aka American buttercream), please make sure there is a place for air to escape so that your frosting job will not be ruined. (I used to be concerned this would make the cake dry out, but an entire day with a hole poked in the cake does not seem to affect it at all. If I’m making the cake 2 or more days in advance, I keep it in the refrigerator to keep it fresh and to keep air bubbles from forming beneath the frosting, and then poke it before I take it out to come to room temperature.)
UPDATE: It has now been explained to me that when you frost a cake cold and refrigerate it, once you bring it to room temperature the air inside the cake expands, causing the icing bulge, aka “icing budge.” While this is the most likely explanation, I have actually had the bulge happen when frosting room temperature cakes and never refrigerating them. So weird!
Here are some pictures of icing eruptions that have happened to my cakes before I figured out I needed to poke them so they could breathe:


You can see the bump on the left side where air or gas is trying to escape.

And this is the view straight on. The bottom two tiers of this cake never gave me any trouble, but the top tier didn’t have dowel rods in it so there was no way for it to breathe and I had to fix probably 10 of these eruptions!
This has been such a pain for me, that I even caught one of the incidents on video! This was before I figured out I needed to poke the cake to prevent the air pockets.
A tip for getting your frosting perfectly smooth is to spray the cake with water after smoothing it out as much as you can with an offset spatula, then going over it again with a clean spatula. The water helps your spatula to glide over the surface and make it very smooth. You can also dip your spatula in water, but I find using a squirt bottle to apply it makes the job much faster.
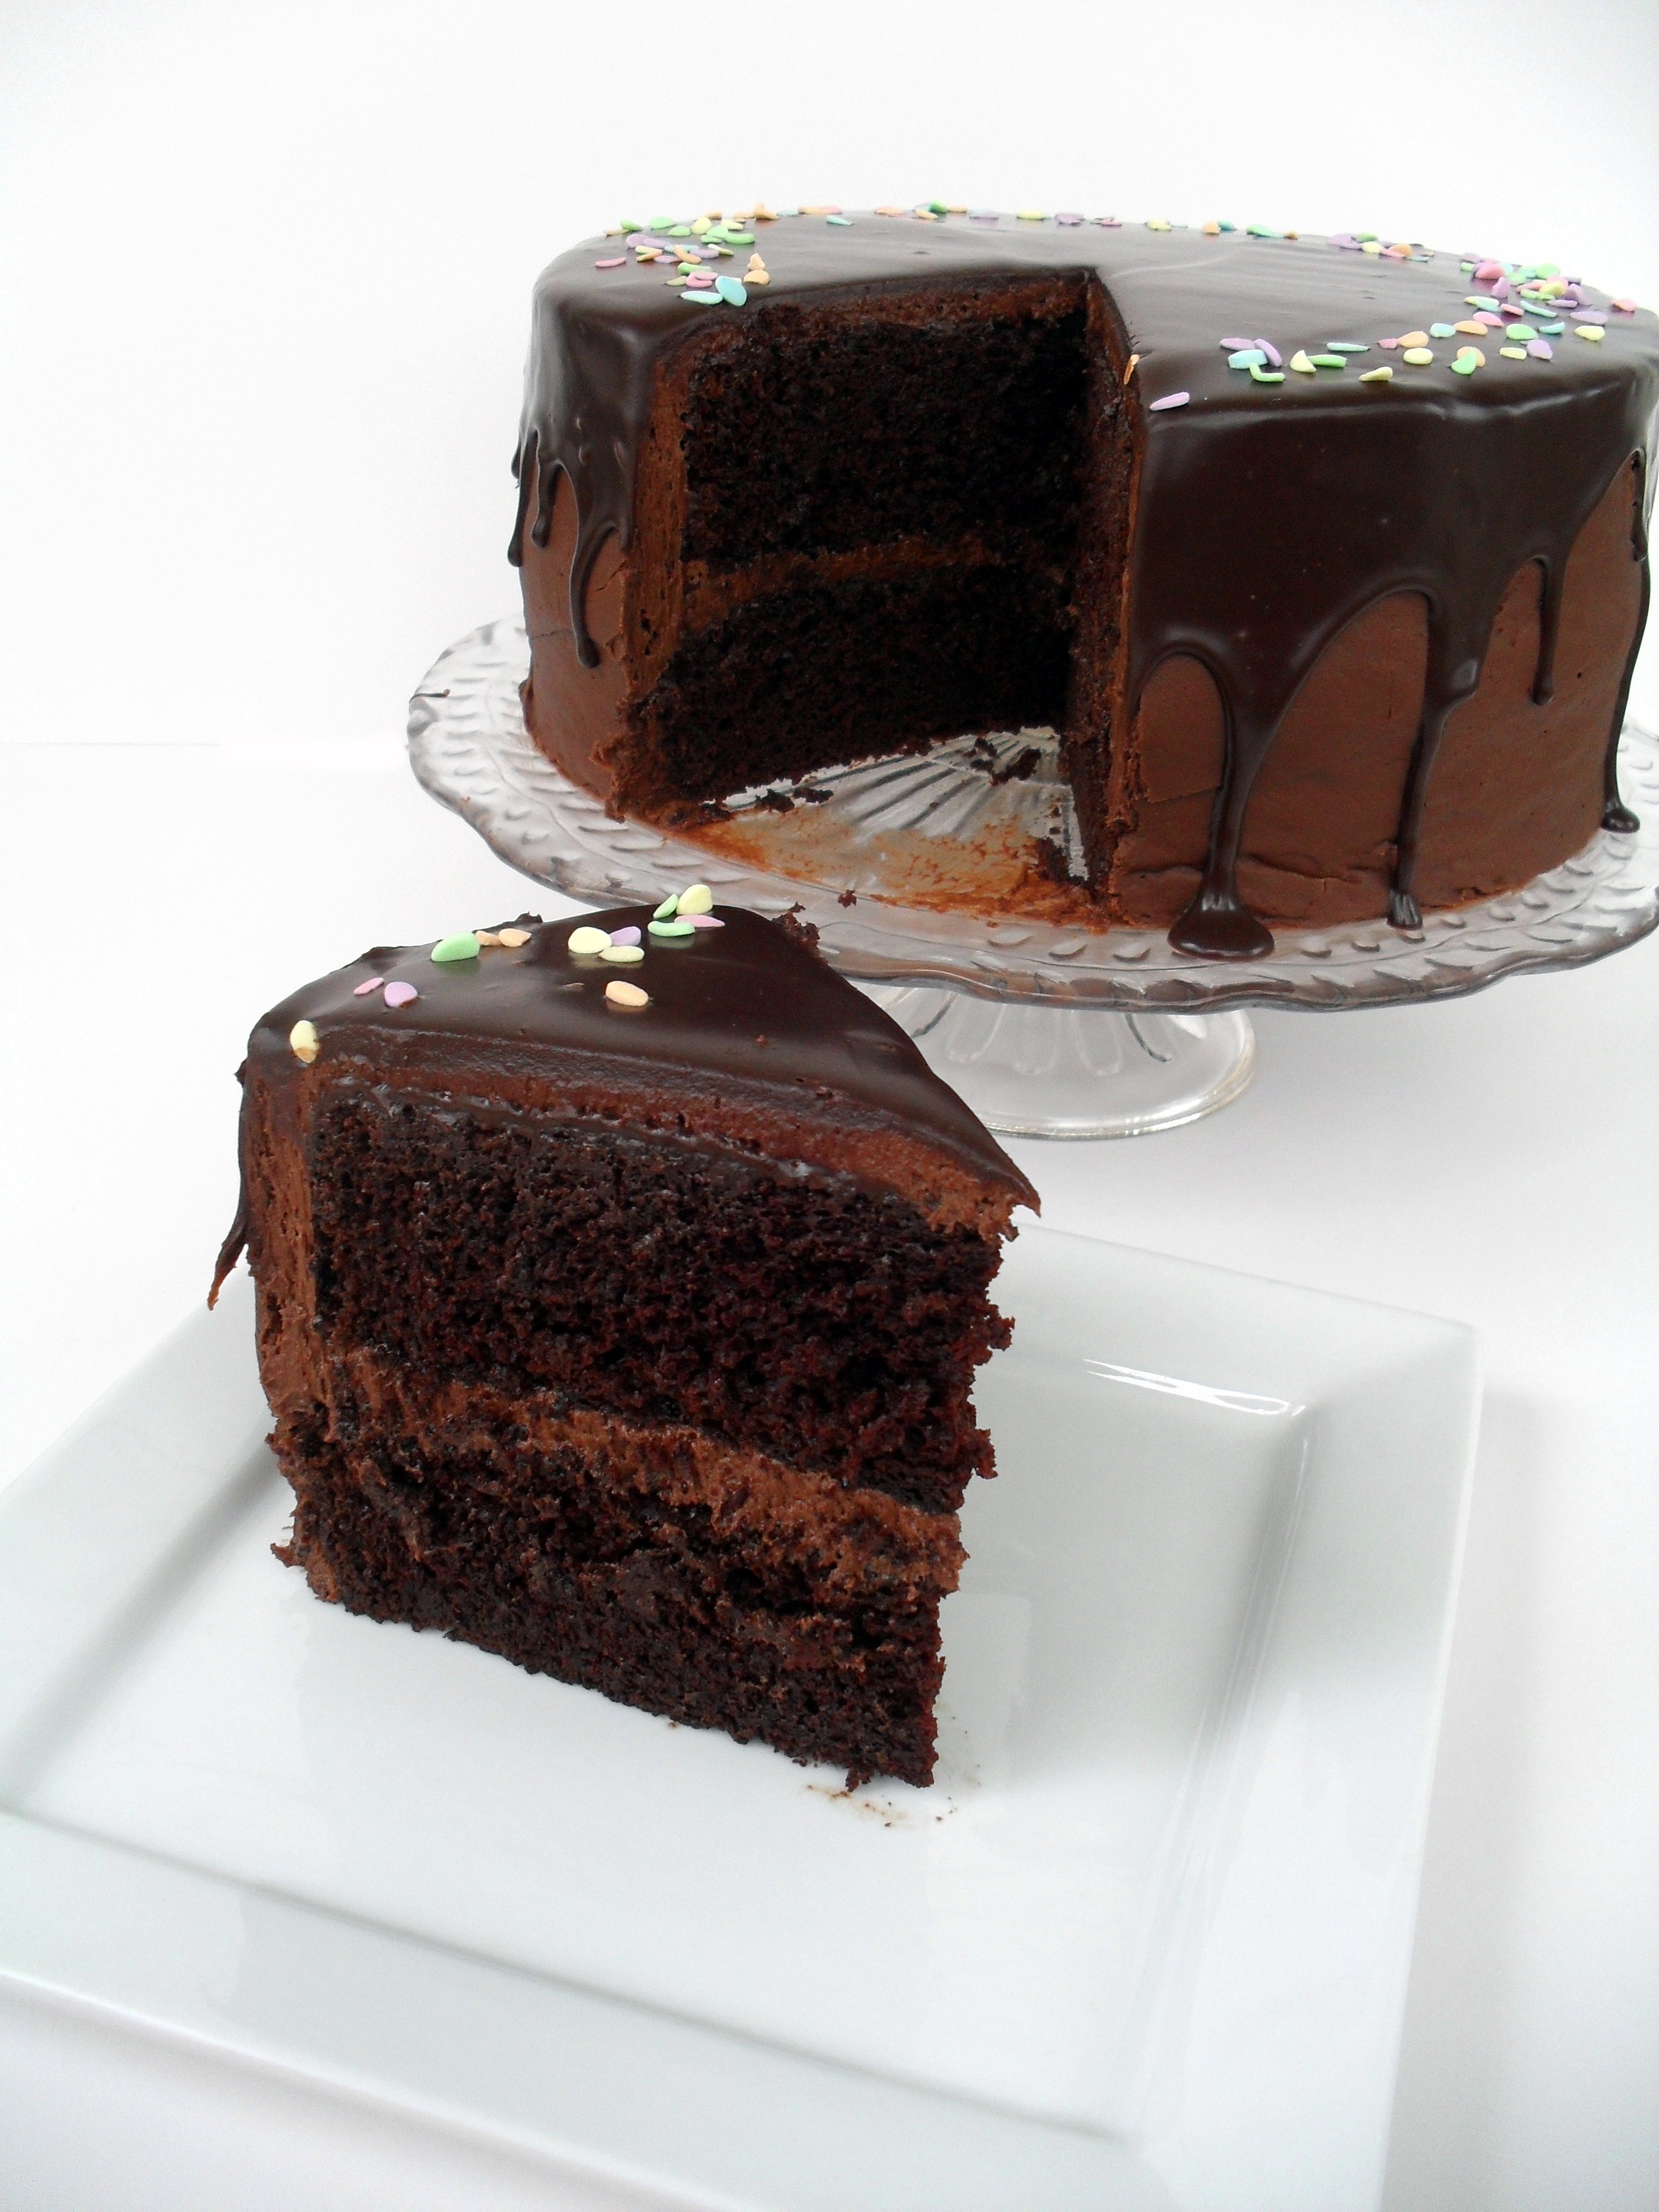
OK, let’s get to my favorite chocolate cake recipe! I took a bunch of photos of my latest one so I included a few extra for you at the end of the post. You’re welcome. :)

Favorite Chocolate Cake
This recipe makes one 9″ two-layer cake. To make a tiered cake the size pictured above, you’ll need to make about 7 batches of the cake recipe (2 batches for each 14″ layer, 1 batch for each 10″ layer and less than 1 recipe for both 6″ layers combined), 5 batches of the frosting, and 5 batches of the glaze.
Printable recipe
Printable recipe with picture
Printable recipe for cake only
Favorite Chocolate Cake
1 ¼ cups unsweetened cocoa powder
2 ½ cups all purpose flour
2 ½ cups sugar
2 ½ teaspoons baking soda
1 ¼ teaspoons baking powder
1 ¼ teaspoons salt
2 large eggs plus 1 large egg yolk
1 ¼ cups warm water
1 ¼ cups buttermilk
½ cup plus 2 tablespoons vegetable oil
1 ½ teaspoons pure vanilla extract
Favorite Chocolate Frosting
2 sticks unsalted butter, room temperature
½ cup vegetable shortening
2 oz semisweet chocolate, melted and cooled
1 cup unsweetened cocoa powder
¼ cup dutch-process cocoa powder
¼ teaspoon salt
2 lbs (8 cups) powdered sugar
¾ cup milk
2 teaspoons vanilla
Favorite Chocolate Glaze
½ cup heavy cream
4 oz semisweet chocolate, chopped
2 teaspoons corn syrup
½ teaspoon vanilla
Make the cake: Preheat the oven to 350 degrees, making sure the baking rack is in the middle of the oven. Prepare two 9” round cake pans by cutting out a piece of parchment or wax paper to line the bottom of them. Grease the pans, place the parchment or wax paper in the bottoms and lightly grease again. Dust the pans with flour (or cocoa powder if you don’t want the white dusting on the finished cakes). Set the pans aside.
Sift together the cocoa, flour, sugar, baking soda, baking powder, and salt into a large bowl. Add the eggs, yolk, warm water, buttermilk, oil and vanilla. Mix on low speed until smooth, about 3 minutes.
Divide the batter evenly between the prepared pans. Bake the cakes for about 35 minutes, until a toothpick inserted into the middle comes out clean or with moist crumbs. Do not overbake! Remove the pans from the oven and set the pans on a wire rack to cool for 15 minutes. Gently run a thin knife around the edges of the pans and unmold the cakes, removing the parchment paper liners from the bottom of the cakes. Let them cool completely, top sides ups, on a wire rack. Trim the tops of the cake layers with a long serrated knife to make them level.
*Veronica’s notes: Although I have never had a problem with this cake recipe overflowing in my pans, many people have left comments on Melanie’s blog (and once on mine when I used it before for THE Mocha Crunch Cake) that they did, so I recommend either making sure the batter is no more than 2/3 full in your pans or placing a baking sheet below the pans to catch any overflow, just in case. If you have extra batter, make a few cupcakes! Also, please do not skip lining the pans with parchment or waxed paper. This cake is sticky and I learned the hard way that it will stick to the pan even if you grease and flour it.
Make the frosting: Cream butter and shortening together until smooth. Beat in melted chocolate until smooth. Add the cocoa powders, salt, sugar and milk to the bowl and turn the mixer to a very low setting until it’s combined enough to increase the speed. Continue increasing the speed and scraping the sides of the bowl until everything is incorporated, then add the vanilla and continue beating until fluffy. Frost cooled cake and freeze leftovers. This makes a large batch so unless you lay the frosting on super thick, you should have enough leftover to frost a dozen cupcakes, but the batch isn’t quite large enough to cut in half. I know, I make things difficult, but you won’t regret having some extra on hand.
Make the glaze: Gently heat the cream and chocolate together in the microwave or in a double boiler, stirring often until smooth and shiny. Stir in the corn syrup and vanilla. Allow to come to room temperature before pouring over the top of the cake and spreading to the edge with a spatula so that it drips over the sides. If the glaze gets too thick, heat it again for a few seconds (it won’t take long) and stir before pouring over the cake. Serve the cake at room temperature.
Recipe source: cake recipe from My Kitchen Cafe, frosting and glaze by Veronica Miller.


